Fix Your Workflow: A Simple Way to Convert SVG to PNG for Brand & Marketing Teams
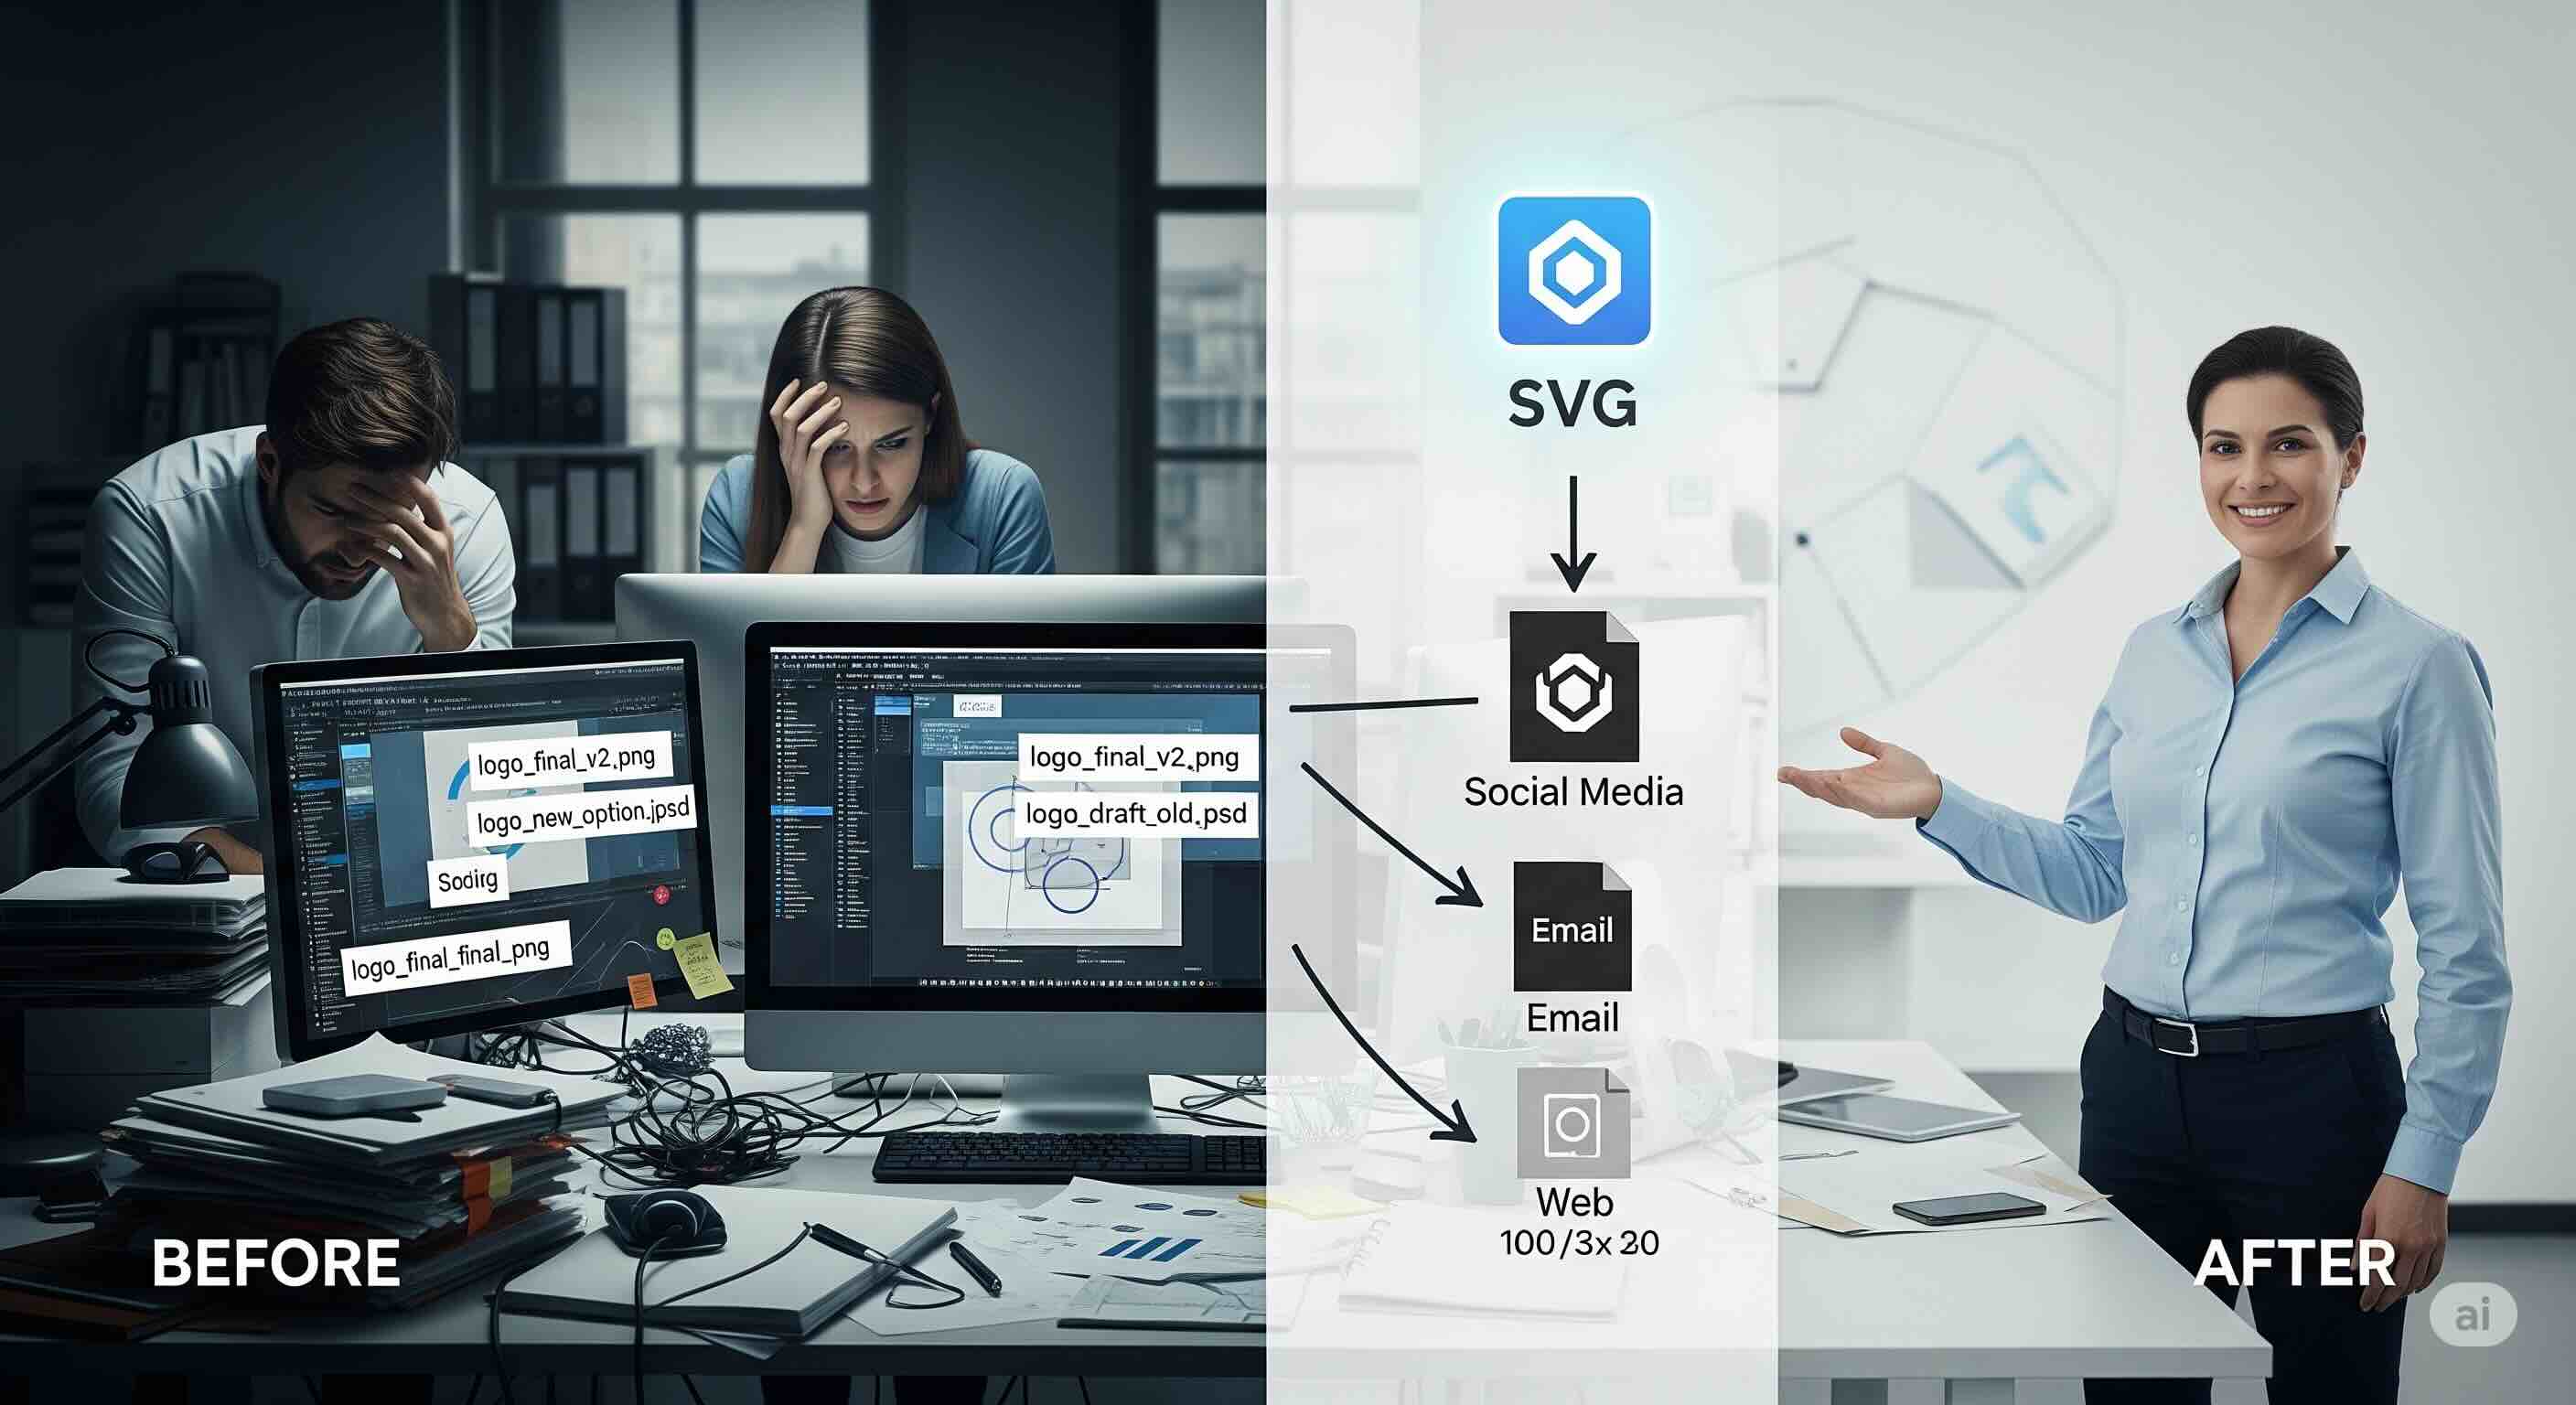
I once consulted for a marketing team where a simple logo tweak took two days to roll out. The designer was swamped with requests: "Can I get a 1080x1080 version for Instagram?" "We need a 600px wide one for the email header." "What about the partner co-branding assets?" The result was a flurry of emails, inconsistent files, and a frustrated team.
In my 15+ years as a front-end developer, I've seen this exact scenario play out in countless organizations. There's a fundamental disconnect between the design team's beautiful, scalable vector assets (SVGs) and the marketing team's need for versatile, high-quality raster images (PNGs). This gap leads to wasted hours, inconsistent branding, and a frustrating experience for everyone involved.
If you're a brand manager, marketer, or designer tired of the endless back-and-forth over image sizes and formats, this guide is for you. We're going to replace your chaotic, manual process with a simple, repeatable, and powerful workflow. By leveraging the right tools and adopting a "single source of truth" philosophy, you can effortlessly convert your master SVGs into perfect PNGs for any application, saving time and ensuring your brand always looks its best.
The Problem: Why Your Current Workflow is Broken
Does this sound familiar? A new campaign requires a logo. The marketer emails the designer, who sends back a single SVG file. The marketer tries to upload it to a social media platform that doesn't accept SVGs. The email chain begins. This common, reactive process is inefficient and prone to error. The core problem is that it treats each required image as a separate, manual task.
This leads to several major pain points:
- Wasted Time: Designers become short-order cooks for images, spending valuable creative time on repetitive export tasks.
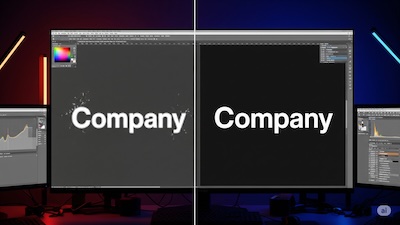
- Inconsistent Quality: Manual exports can introduce errors. A wrong setting can lead to a blurry or jagged logo, damaging brand perception.
- Asset Chaos: Your folders become a mess of files like
logo_final.pngandlogo_for_email_v2.png. - Lack of Empowerment: Marketing and brand teams are left dependent on the design team for even the smallest image request, creating bottlenecks.
The Solution: An SVG-First Workflow for Teams
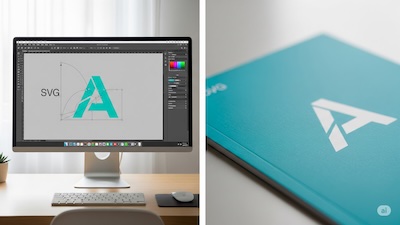
The foundation of a modern, efficient asset workflow is the "single source of truth" principle. For your brand's visual identity, that single source should be a master SVG file. An SVG (Scalable Vector Graphic) is a set of instructions written in code. This makes it infinitely scalable. You can generate a tiny 16x16 pixel favicon or a massive billboard from the exact same file, and it will be perfectly sharp every time.
However, for this to work, your master SVG must be clean. Design tools often export SVGs with extra, unnecessary code. As we detail in our guide on how to clean SVG code for sharper images, this "junk code" can cause rendering problems. A quick pass through an optimizer ensures your source of truth is pristine.
A 3-Step Workflow for Perfect PNGs, Every Time
Once you've embraced the SVG-first mindset, the conversion process becomes a simple, three-step assembly line that anyone on your team can follow. This workflow empowers brand and marketing teams to self-serve their image needs without sacrificing quality.
| Step | Action | The Goal |
|---|---|---|
| 1. Centralize & Clean | Create a central library of master SVG files and clean them with an SVG optimizer. | Establish a reliable "single source of truth" for all brand assets. |
| 2. Convert to PNG | Use a simple SVG to PNG or batch converter to generate the exact sizes needed. | Empower non-technical teams to self-serve their own image assets. |
| 3. Compress for Performance | Run the final PNGs through a PNG compressor. | Ensure all assets are lightweight and optimized for web and email. |
Step 1: Centralize and Clean Your Master SVGs
First, create a central, accessible library for your master SVG files. This could be a shared folder on Google Drive, Dropbox, or a dedicated Digital Asset Management (DAM) system. Before adding an SVG to this library, it's crucial to clean it. You can quickly inspect a file by dragging it into an online SVG Viewer to see its code. For the cleanup, use a dedicated SVG optimizer. This tool automatically removes the unnecessary metadata and editor comments that design software adds.
Step 2: Convert to PNG with the Right Tool
This is where the magic happens. Instead of asking a designer for a specific size, your team can now take the master SVG and generate the exact PNG they need. The key is using a tool that is powerful yet simple enough for non-technical users. For converting a single logo, a straightforward SVG to PNG converter is perfect. For creating a full set of social media images, a SVG Batch Converter is a game-changer. Your team can upload a folder of SVGs, define all the required sizes at once, and download a single ZIP file. This is especially useful when following a guide to social media image sizes.
Step 3: Compress for Performance
You now have a set of beautiful, high-resolution PNGs. The final step, especially for assets destined for your website or email campaigns, is to optimize them for performance. Before you use your new PNGs, run them through a powerful PNG compressor. This tool intelligently reduces the file size by up to 70% or more, often with no visible difference in quality. It's a non-negotiable final check.
Putting It Into Practice: A Real-World Example
Let's imagine your marketing team is launching a new partnership and needs co-branded assets for an email blast and a blog post. Here’s the new workflow in action:
- Get the Source: The marketing manager goes to the central asset library and downloads the master SVGs for your company's logo and the partner's logo.
- Batch Convert: They need a 600px wide version for the email header and an 800px wide version for the blog post. They open the SVG Batch Converter, upload both SVGs, and set two output sizes: 600px width and 800px width.
- Compress: The batch conversion finishes in seconds. They take the four resulting PNGs and drag them into the PNG compressor to make them as lightweight as possible.
The result: In under five minutes, with no need to contact a designer, the marketing manager has four perfect, optimized, and ready-to-use assets. This is the power of a streamlined workflow, a concept we explore further in our guide on managing brand assets across teams.
Conclusion: Take Control of Your Brand Assets
The friction between design and marketing teams over image assets isn't a people problem; it's a process problem. By ditching the manual, one-off requests and adopting a simple, SVG-first workflow, you empower your entire team to work more efficiently and effectively.
Centralizing your master SVGs and providing easy-to-use tools for conversion and compression eliminates bottlenecks, ensures brand consistency across every channel, and frees up your creative talent to focus on high-impact work. Stop the endless email chains and take control of your brand's visual identity. A smarter workflow is just three simple steps away.
iSVGtoPNG Team
iSVGtoPNG Team is a front-end developer and graphics enthusiast with over 10 years of experience in web technologies. She loves exploring the intersection of design and code.