SVG to Crisp PNGs: Fixing Blurry Edges & Anti-Aliasing Nightmares
Introduction: From Blurry Mess to Pixel-Perfect
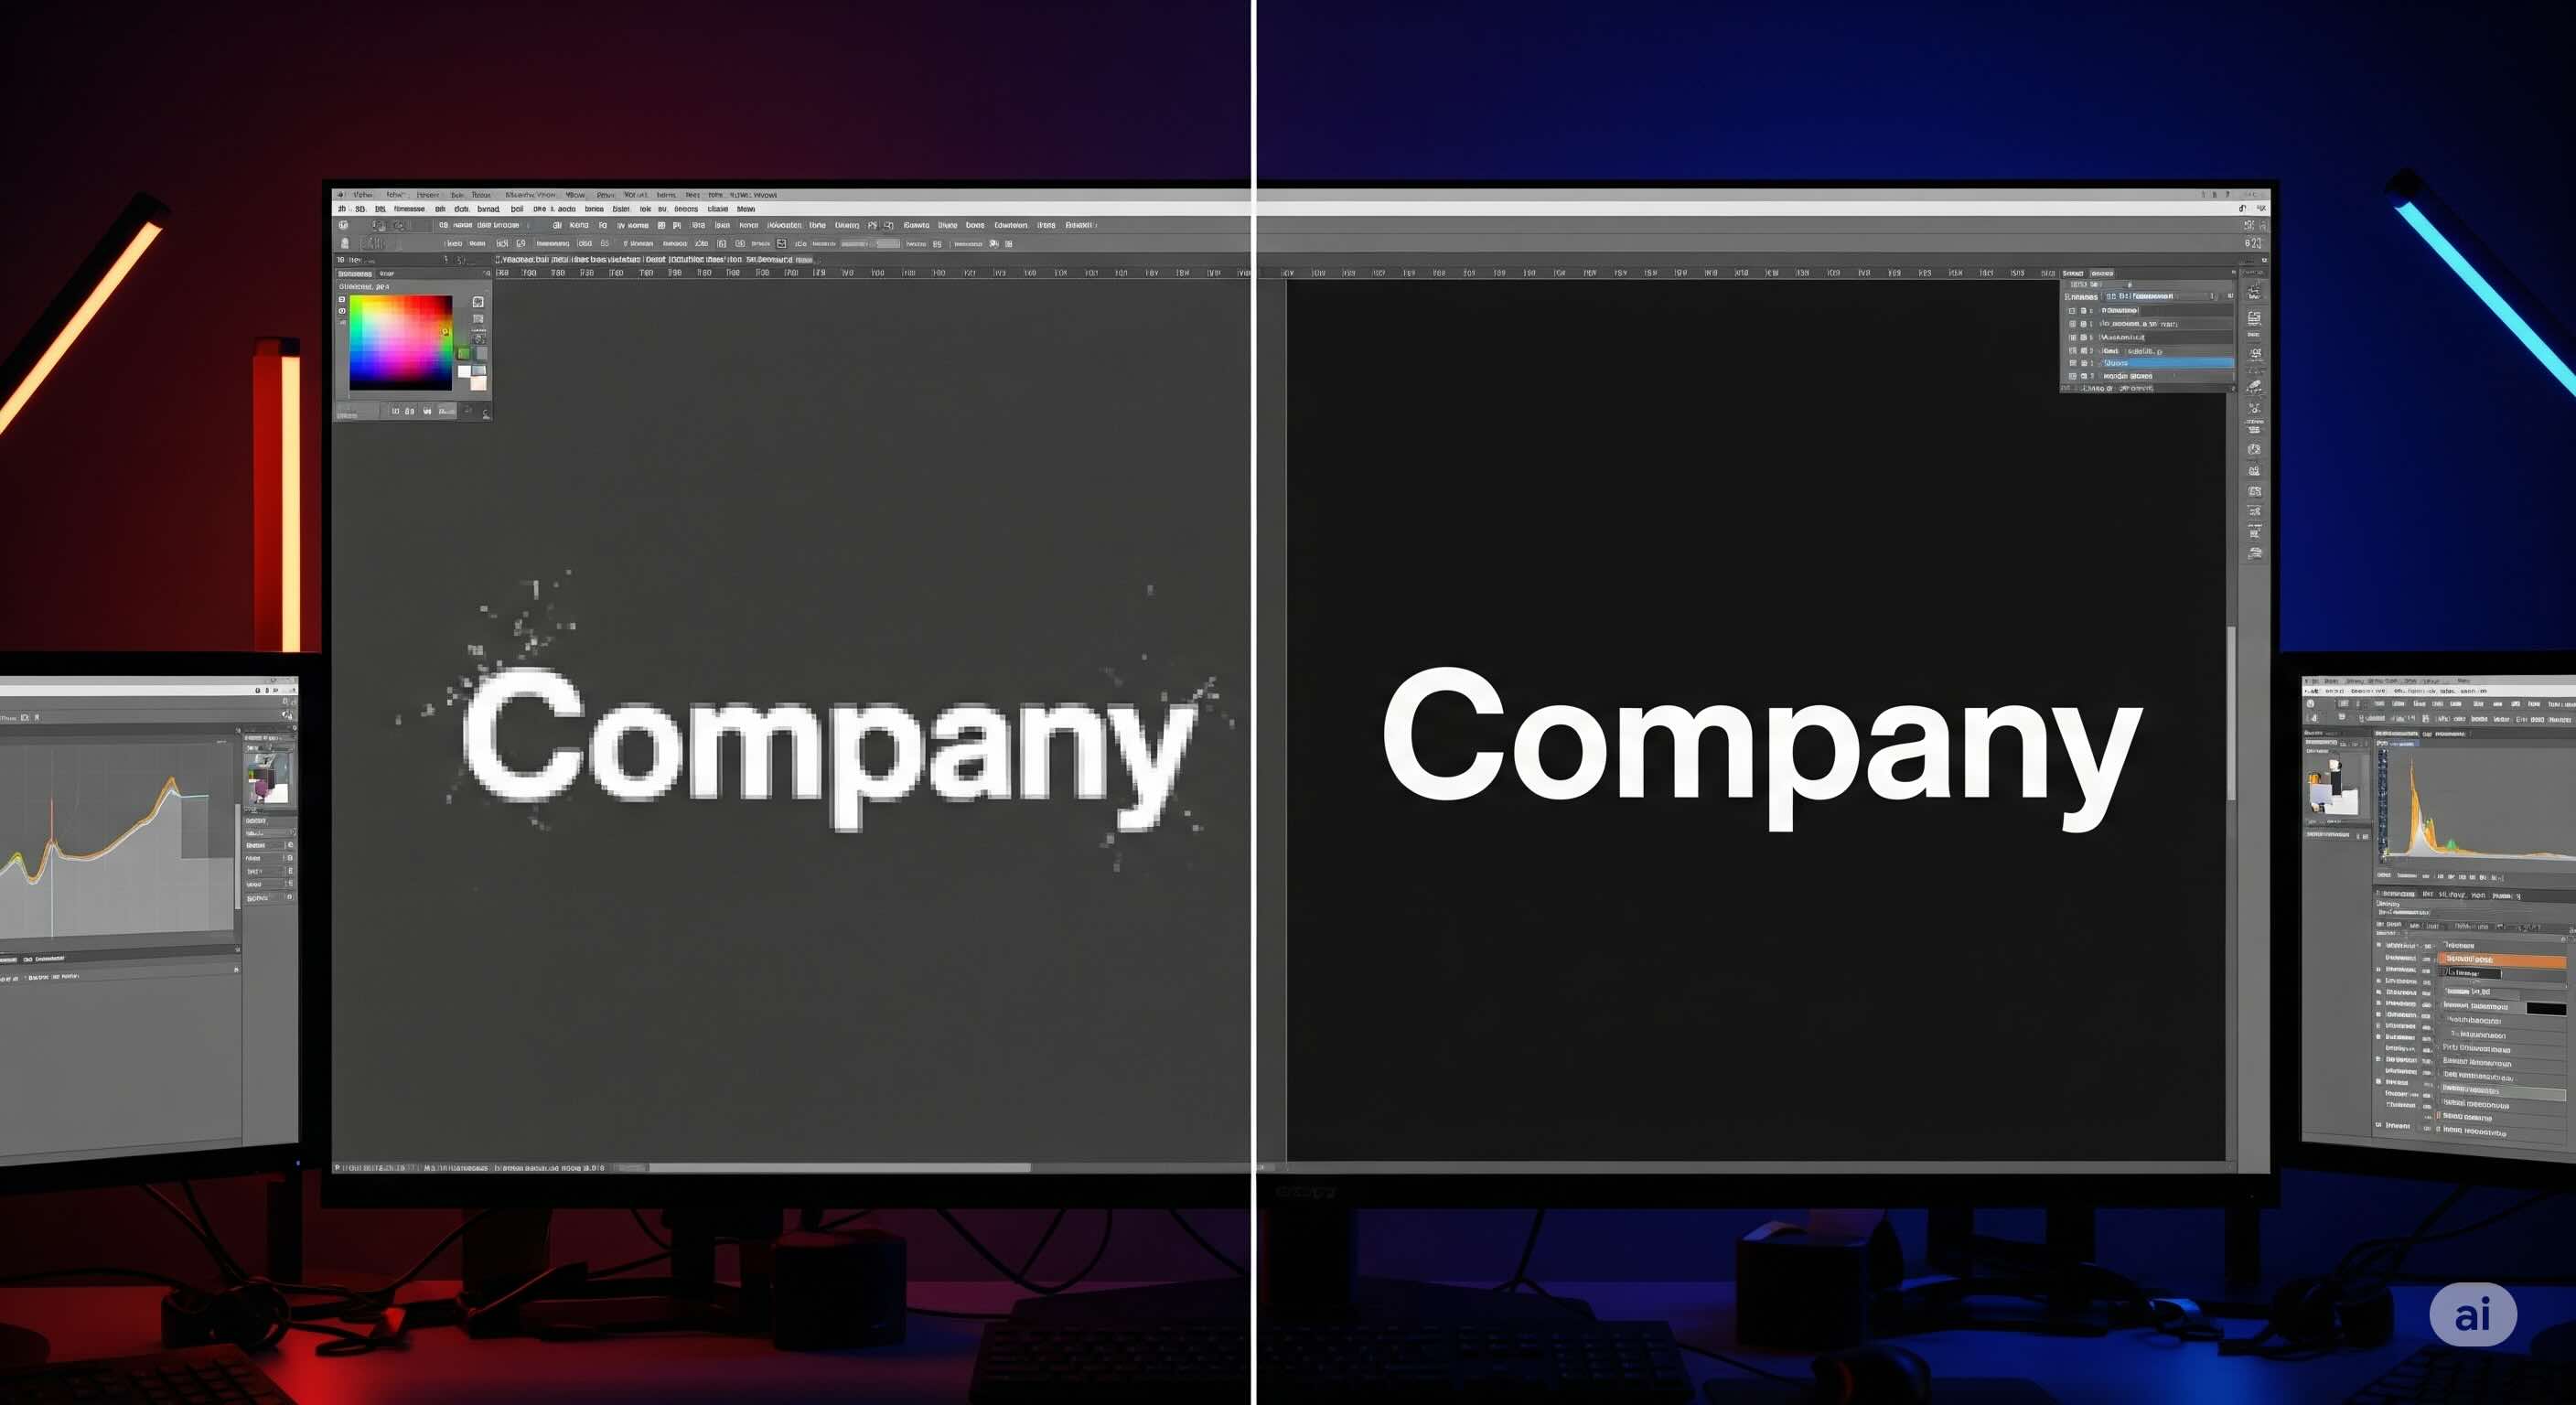
Converting SVG files to PNG format should be straightforward, but anyone who's dealt with blurry edges, jagged lines, or pixelated graphics knows the frustration all too well. After a decade of working with digital graphics and display technologies, I've encountered every possible anti-aliasing nightmare you can imagine.
The truth is, most conversion tools treat SVG-to-PNG conversion as a simple rasterization process, completely ignoring the nuanced requirements that separate crisp, professional results from amateur-looking outputs. This comprehensive guide will transform your understanding of the conversion process and equip you with the knowledge to achieve pixel-perfect results every time.
Why Do SVGs Get Blurry? The Root Causes of Poor Conversion
Before diving into solutions, it's crucial to understand why SVG-to-PNG conversions often produce disappointing results. The problem isn't just technical—it's fundamental to how vector and raster graphics interact.
The Vector-to-Raster Translation Challenge
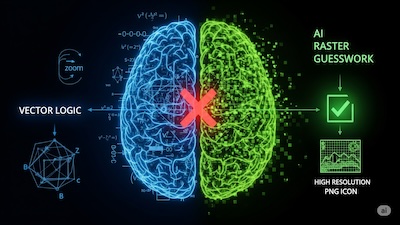
SVG files are mathematical descriptions of shapes, curves, and colors. When you convert SVG to PNG, you're asking a computer to interpret these formulas and translate them into a fixed grid of pixels. This translation process is where most quality issues originate.
The primary culprits behind blurry conversions include:
- Inadequate sampling rates that fail to capture fine details.
- Poor anti-aliasing algorithms that create muddy edges instead of smooth transitions.
- Incorrect scaling calculations that introduce artifacts.
- Suboptimal rendering engines that prioritize speed over quality.
The Anti-Aliasing Dilemma
Anti-aliasing is supposed to smooth jagged edges by blending edge pixels with background colors. However, aggressive or poorly implemented anti-aliasing often creates the opposite effect—soft, blurry edges that lack definition. The key is finding the sweet spot between crisp edges and smooth curves.
Core Technique: Achieving Crispness with Resolution & Anti-Aliasing
After years of testing, I've developed a systematic methodology that consistently produces professional-grade results. These techniques address the core of the conversion process.
Resolution Strategy: Beyond Simple Scaling
Most people think higher resolution automatically equals better quality, but this approach often misses the real optimization opportunities.
The 2x Rule for Web Graphics: For web-destined images, render at exactly 2x your target resolution, then scale down using a high-quality resampling algorithm. This technique, borrowed from Retina display optimization, produces remarkably crisp results.
For print applications, calculate your DPI requirements first. A 300 DPI print at 4 inches wide requires 1200 pixels, not the 800 pixels many designers assume.
Advanced Anti-Aliasing Control
Professional-grade conversions require precise anti-aliasing control. What actually works:
- Selective Anti-Aliasing: Apply different anti-aliasing strengths to different elements.
- Edge Enhancement: Use subtle sharpening specifically on vector edges.
- Subpixel Positioning: Align vector elements to whole-number pixel boundaries to minimize anti-aliasing needs.
Pre-Conversion: How to Optimize Your Source SVG for Quality
The best PNG conversions start with properly prepared SVG files. Many quality issues can be prevented by optimizing your source files before they ever touch a converter.
Vector Path Optimization
Before converting, use an SVG optimizer to clean up unnecessary path complexity. Simplified paths not only reduce file size but also convert more cleanly.
- Path simplification: Remove redundant anchor points.
- Curve optimization: Convert complex curves to simpler math.
- Layer consolidation: Merge layers that don't require separate manipulation.
Coordinate System Alignment
One often-overlooked factor is coordinate alignment. SVG elements positioned at fractional coordinates (like x="10.5") will always produce soft edges when rasterized. Align all elements to whole-number coordinates for maximum sharpness.
Workflow Efficiency: Batch Processing and Quality Control
When dealing with multiple files, consistency is paramount. Manual conversion often leads to inconsistent quality and wasted time.
For projects requiring multiple conversions, a batch converter ensures consistent settings across all files. This is invaluable for icon sets, logo variations, and illustration series.
A Simple Quality Control Workflow
- Preview at target size: Always preview converted images at their intended display size.
- Edge inspection: Zoom to 200-400% to examine edge quality in detail.
- Color accuracy verification: Compare colors between source SVG and converted PNG.
- File size check: Balance quality with file size requirements.
Troubleshooting: Solving Common Gradient and Typography Issues
Even with proper preparation, some SVG files present unique challenges. Here's how to handle the most common scenarios.
Complex Gradient Handling
SVG gradients often convert poorly, creating banding. The solution involves pre-processing:
- Increase gradient stops: Add intermediate color stops to smooth transitions.
- Dithering techniques: Apply subtle noise to break up visible banding.
Text and Typography Issues
Font rendering can vary significantly between systems. The most reliable strategy is to convert text to paths before conversion. While this increases file size, it guarantees visual consistency across all systems.
Tooling: How to Select and Configure the Right Converter
The choice of conversion tool significantly impacts output quality. Look for features like:
- Custom anti-aliasing algorithms
- Subpixel rendering options
- Color profile management
- Batch processing capabilities
When working with web-based tools, use an SVG viewer to verify your source files display correctly before conversion. This step prevents wasting time on problematic source files.
Post-Conversion: Final Sharpening and File Size Optimization
The process doesn't end when your PNG is generated. Post-processing can significantly improve quality and file size.
Selective Sharpening Techniques
Apply targeted sharpening to enhance edge definition without introducing artifacts. Use masks to apply sharpening only to edge areas while protecting smooth gradients.
File Size Optimization
Large PNG files impact web performance. Use a PNG compressor to reduce file size while maintaining visual quality. Modern compression can often achieve 30-50% size reduction without visible quality loss.
Final Step: Quality Assurance and Multi-Device Testing
Professional workflows include systematic QA to ensure consistent results across different viewing conditions. Test your converted PNGs on both High-DPI (Retina/4K) and standard displays, as well as various mobile devices. For print, always produce a test print before final production.
Conclusion
Achieving crisp, professional PNG conversions from SVG files requires understanding the underlying technical challenges and applying systematic solutions. The techniques outlined in this guide address each stage of the process, from source file preparation through post-processing optimization.
Remember that quality conversion is rarely about finding the "perfect" tool—it's about understanding the process well enough to configure any tool properly. By implementing these professional techniques, you'll consistently produce PNG files that maintain the crisp, clean appearance of your original vector graphics and meet the highest professional standards.
iSVGtoPNG Team
iSVGtoPNG Team is a front-end developer and graphics enthusiast with over 10 years of experience in web technologies. She loves exploring the intersection of design and code.