SVG to PNG DPI: How to Convert SVG to High-Resolution PNG for Print & Marketing
A few years ago, I was leading the tech side of a major rebrand for a B2B client. The website launch was flawless. The new logo looked razor-sharp on every screen. A week later, the marketing team sent an urgent message: "The logo you gave us looks terrible on the new trade show banners." They attached a photo, and I saw the problem immediately. Our elegant, modern logo was a pixelated, blurry disaster plastered ten feet high.
As a web developer with over 15 years in the trenches, I knew the cause instantly. I had given them a 144px wide PNG, perfectly optimized for the website header. They had sent that same file to the printer. This wasn't a failure of design or technology; it was a failure of communication, rooted in one of the most misunderstood concepts in digital graphics: the difference between screen resolution (PPI) and print resolution (DPI).
This guide is the conversation I wish I could have had with that marketing team. It's a definitive, no-nonsense manual for anyone—developer, designer, or marketer—who needs to turn a scalable vector graphic (SVG) into a high-resolution PNG that looks as good on paper as it does on screen. We'll demystify DPI and give you a reliable, calculation-based workflow that guarantees print-perfect results every time.
DPI vs. PPI: The Critical Difference for Print
Before we can create a high-resolution PNG, we must clear up the terminology that causes so much confusion. While often used interchangeably, DPI and PPI describe two very different things.
| Concept | PPI (Pixels Per Inch) | DPI (Dots Per Inch) |
|---|---|---|
| Medium | Digital Screens (Monitors, Phones) | Physical Print (Paper, Banners) |
| What It Measures | The density of pixels on a screen. A fixed hardware characteristic. | The density of ink dots a printer lays down on paper. |
| The Key Takeaway | A digital image file (like a PNG) only has pixel dimensions (e.g., 1200px wide). The DPI is just metadata that tells a printer how large to print those pixels. | |
Therefore, our goal isn't to find a magic "Convert to 300 DPI" button. Our goal is to generate a PNG with enough pixels to support a high-DPI print at the desired physical size. For web, we create @2x assets for high-density screens, a process you can automate for your web workflow.
A 5-Step Workflow for Print-Ready PNGs
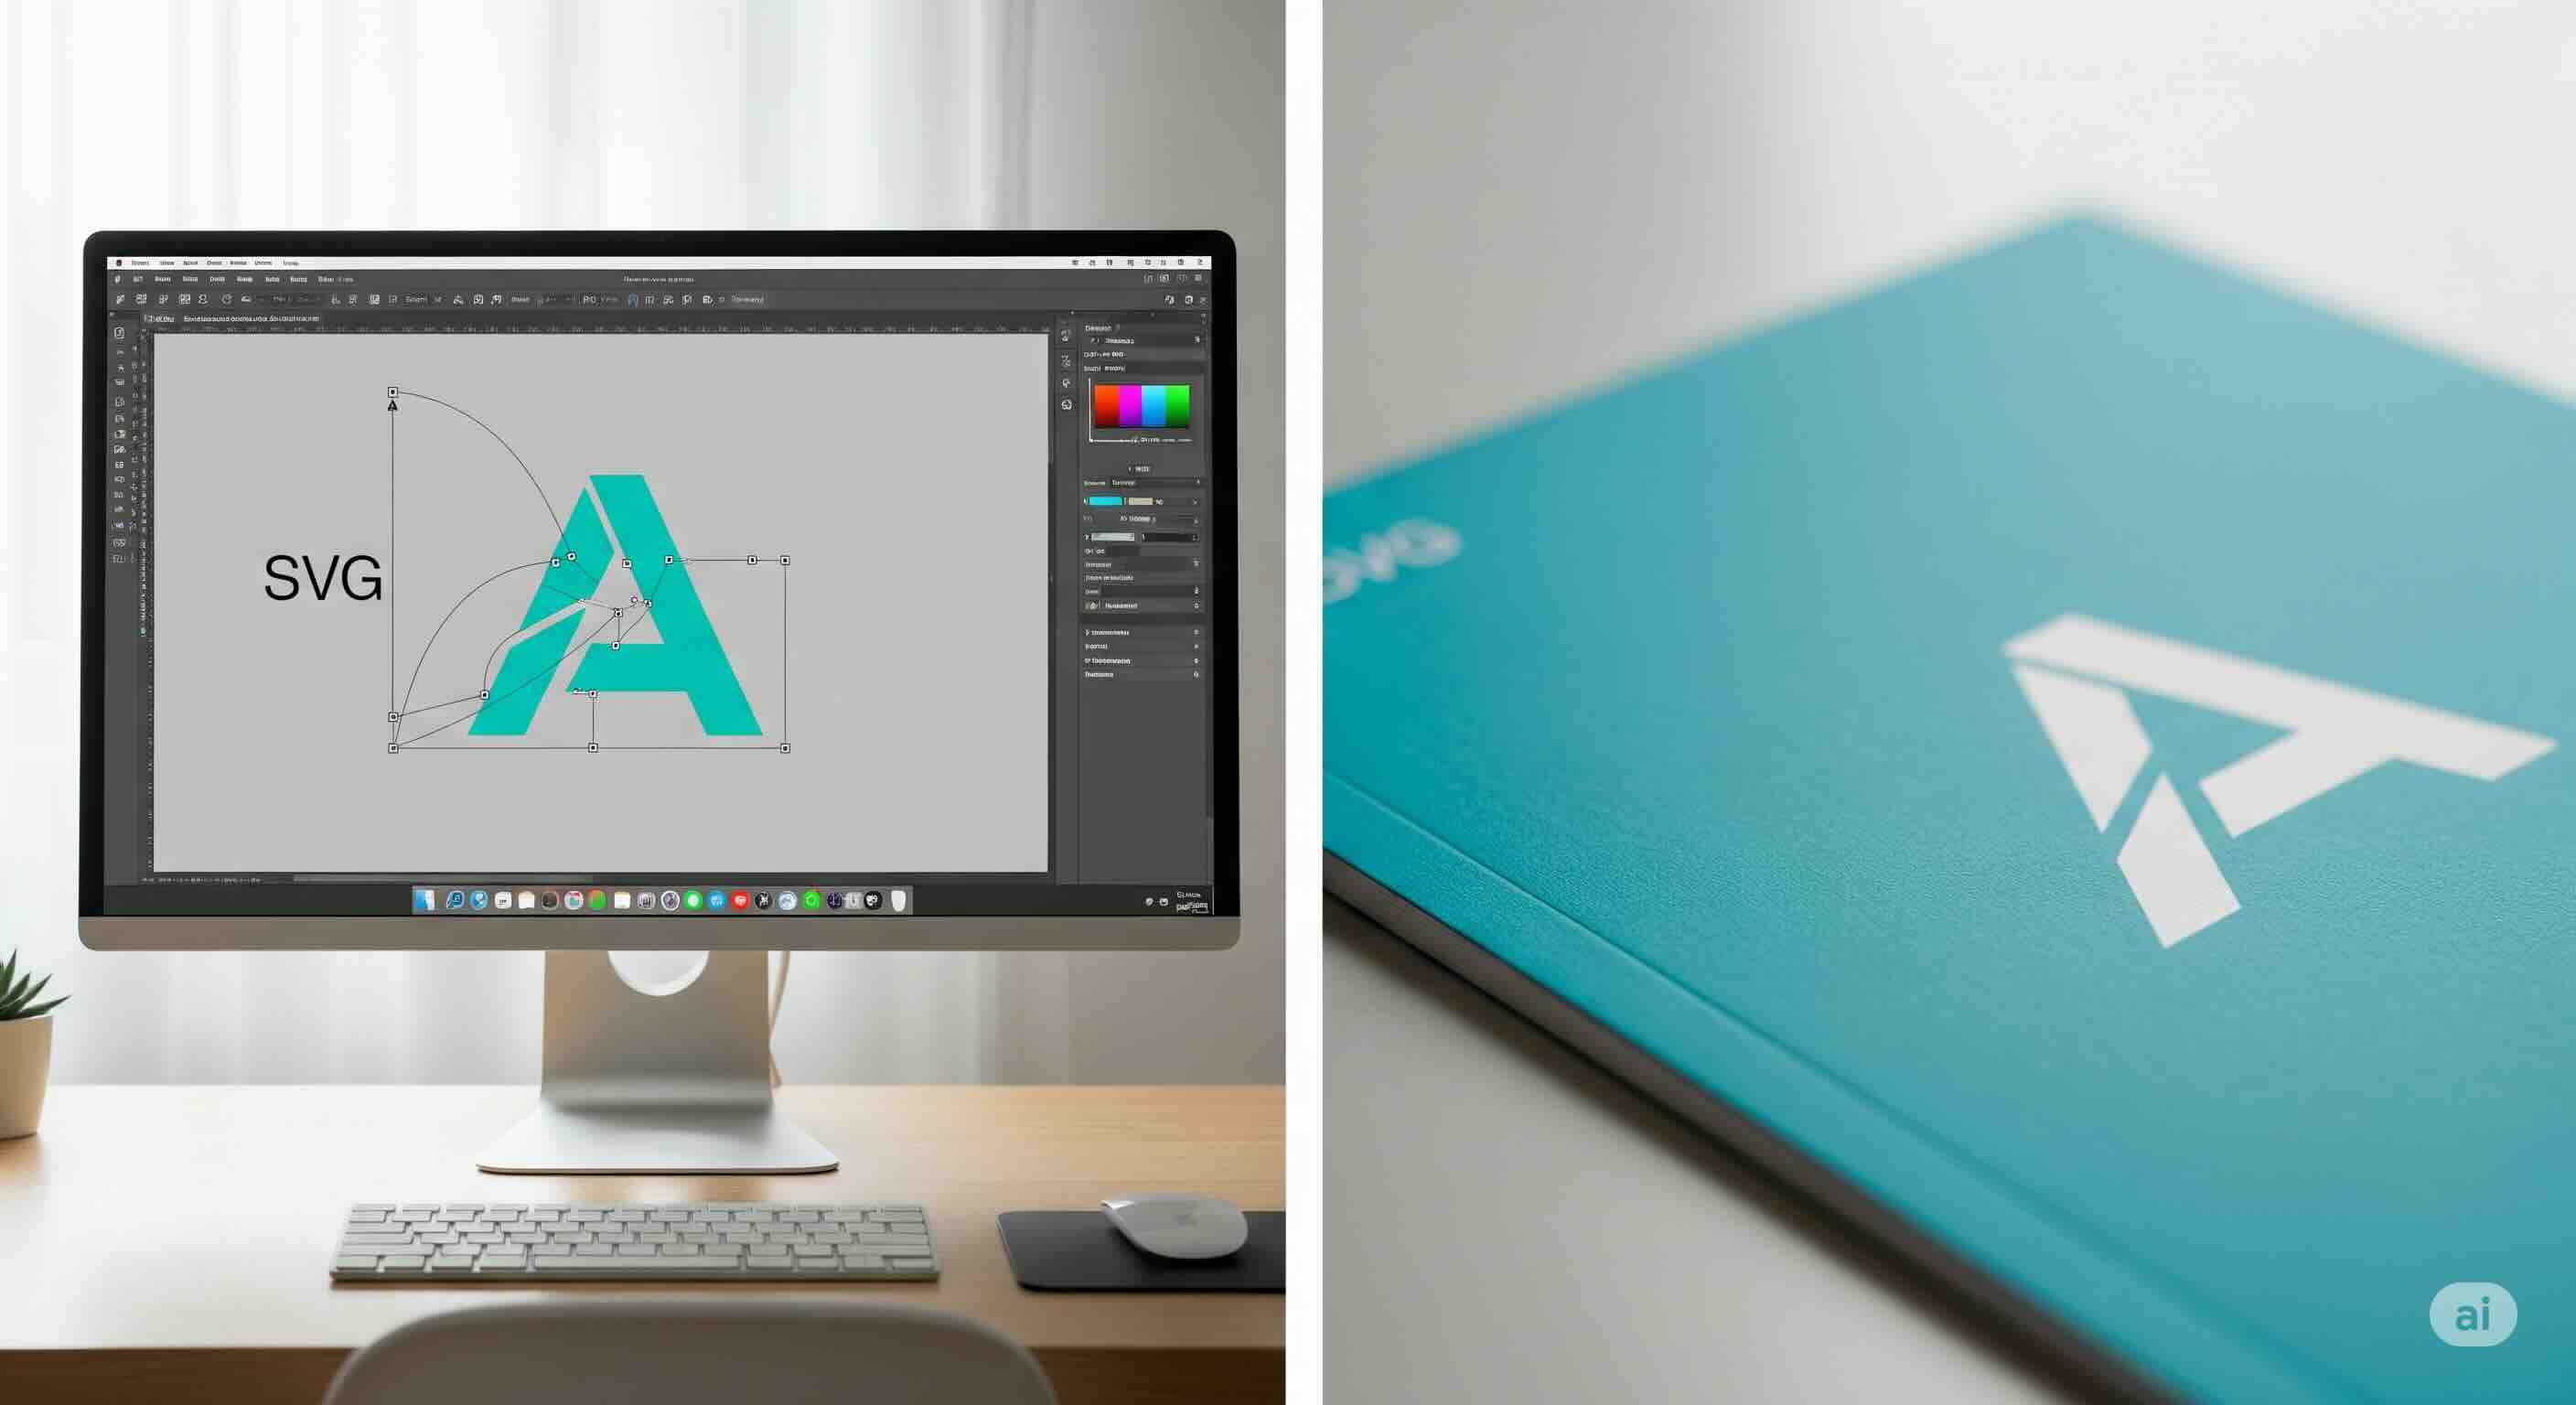
Because an SVG is a mathematical blueprint, it's the perfect, resolution-independent source for our print assets. We can render it at any size without losing quality. This workflow is all about calculating the right size.
Step 1: Define Your Print Requirements
First, answer two questions from your marketing team or printer:
- What is the final physical size? (e.g., "The logo needs to be 4 inches wide on the brochure.")
- What is the required print resolution? (For high-quality print, this is almost always 300 DPI. For large banners viewed from a distance, it might be lower, like 150 DPI.)
Step 2: Calculate the Required Pixel Dimensions
This is the most important step. Use this simple formula:
(Physical Dimension in Inches) x (DPI) = (Required Pixel Dimension)
Let's use our example:
- Physical Width: 4 inches
- Required DPI: 300 DPI
- Calculation: 4 inches * 300 DPI = 1200 pixels
To get a sharp, 4-inch wide print, we need to generate a PNG that is 1200 pixels wide. The height will scale proportionally.
Step 3: Prepare Your Source SVG
Before conversion, ensure your source file is clean. SVGs exported from design tools can be full of junk code that can cause rendering errors. It's a professional best practice to run your SVG through an SVG optimizer first. This removes unnecessary metadata and ensures the converter gets a clean set of instructions, preventing issues like those described in our guide on how hidden SVG code can wreck your output.
Step 4: Perform a High-Fidelity Conversion
Now, use a quality SVG to PNG converter. In the conversion settings, ignore any "DPI" fields for a moment and focus on the pixel dimensions. Enter the width you calculated in Step 2 (e.g., 1200 pixels). The tool will read your infinitely scalable SVG and render a brand new, pixel-perfect PNG at exactly that size. If you have a whole set of marketing assets to create, a batch converter can apply these settings to hundreds of SVGs at once.
Step 5: Set the DPI Metadata (The Final Touch)
While the pixel dimensions are what truly matter, setting the DPI metadata is a crucial final step for a professional workflow. It ensures that when a designer opens your PNG in Photoshop, it will automatically be sized correctly for a print layout. A good converter will have an explicit option to set the output DPI. Set this to the value from Step 1 (e.g., 300). This step "stamps" the file with the correct print instructions.
Advanced Considerations for a Professional Handoff
Creating a high-pixel-count PNG is the main battle, but here are a few other things to keep in mind for a truly professional handoff.
Color Spaces: The RGB vs. CMYK Divide
PNG is a screen-native format and only supports RGB color spaces. Professional printers, however, use a CMYK (Cyan, Magenta, Yellow, Black) process. This can lead to color shifts when your vibrant RGB logo is converted for print. While the developer's job is to provide a high-resolution RGB PNG, it's critical to communicate with the designer or print shop. They will likely perform the final conversion to a CMYK color profile. For more on this, our guide on preserving brand colors is a must-read.
Compression for Print: Less is More
While we love a good PNG compressor for the web, be cautious when creating assets for print. File size is rarely a concern, but quality is paramount. Avoid any lossy compression, and if you use lossless compression, ensure it doesn't introduce any banding or artifacts that might be invisible on screen but show up on paper.
Conclusion: Stop Guessing, Start Calculating
The anxiety of providing assets for print disappears when you replace guesswork with a simple, repeatable process. The quality of a printed PNG has nothing to do with the original "size" of your SVG and everything to do with the number of pixels you render it with.
The workflow is your new rulebook: Define → Calculate → Clean → Convert → Set DPI. By following these steps, you can confidently supply your marketing and print teams with assets that are not just high-resolution, but correct-resolution. You'll save time, prevent costly reprints, and ensure your brand's visual identity remains sharp and consistent, from the smallest screen to the largest banner.
iSVGtoPNG Team
iSVGtoPNG Team is a front-end developer and graphics enthusiast with over 10 years of experience in web technologies. She loves exploring the intersection of design and code.