Social Media Sizes Decoded: Convert SVG to Perfect-Fit PNGs in 1 Click
 iSVGtoPNG Team

I’ve lost count of the number of times I've seen this scenario play out. A marketing team requests a new logo for a social media campaign. The design team hands over a beautiful, crisp SVG. Then, chaos ensues. "We need a 180x180 PNG for Facebook," "Can we get a 400x400 for Instagram?" "What about the Twitter banner? That's 1500x500."
As a front-end developer who has managed asset pipelines for massive, multi-platform brands, this manual, reactive process is my personal nightmare. It's a workflow riddled with inefficiency, prone to human error, and a surefire way to create brand inconsistency. A slightly off-center logo here, a poorly compressed banner there—it all chips away at a professional image.
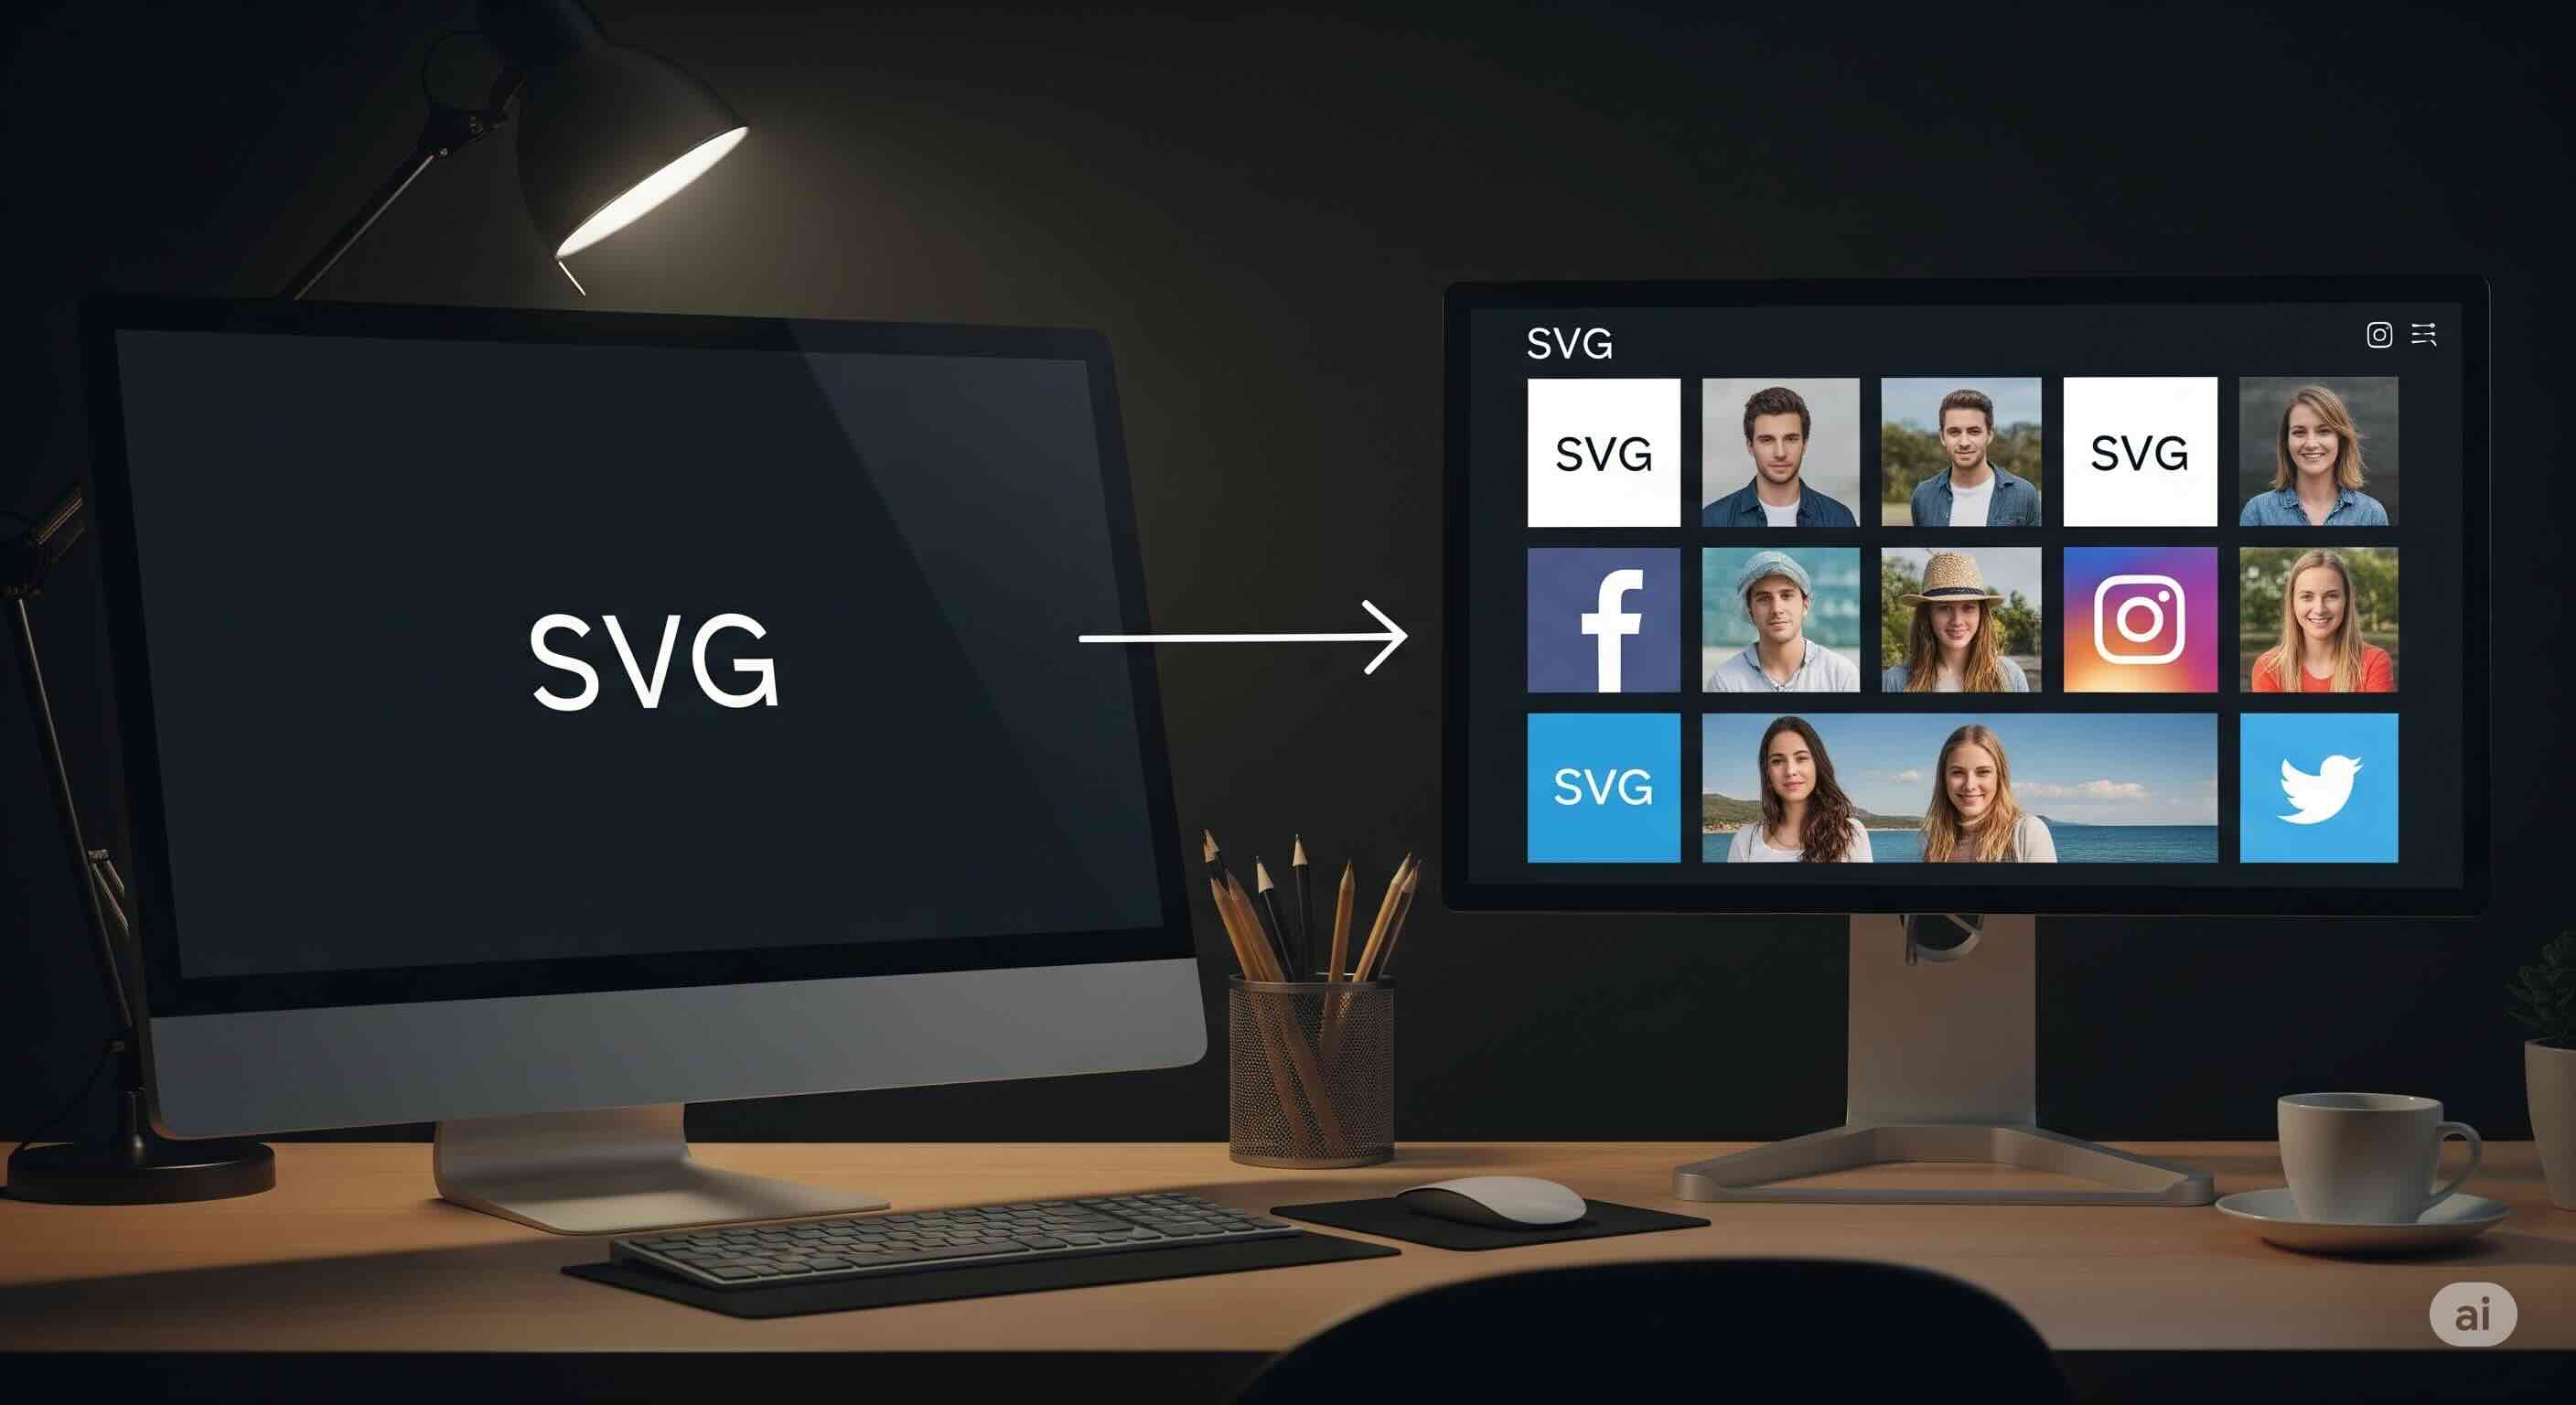
The solution isn't to work harder or to become a master of Photoshop's "Save for Web" dialog. The solution is to work smarter by establishing a single source of truth. This guide is my 15 years of experience distilled into a practical, bulletproof workflow. We'll decode the ever-changing world of social media image sizes and show you how to convert a single master SVG into a complete, perfectly-sized set of PNGs for every platform, essentially in one click.
The Problem: Why Managing Social Media Images is So Painful
Why is managing social media assets so painful? Because you're dealing with a matrix of requirements that are entirely out of your control.
- Dozens of Dimensions: Each platform has unique, non-standardized dimensions for profile pictures, cover photos, in-feed posts, and story assets.
- Different Aspect Ratios: A square profile picture, a wide rectangular banner, and a vertical story image all need to be derived from the same brand assets.
- Constant Updates: Social media platforms redesign their layouts frequently, often changing image size requirements with little to no warning.
This chaos forces teams into a defensive position, constantly chasing down the latest specs and manually resizing images. It's a colossal waste of time and a recipe for inconsistent, low-quality assets that damage brand perception.
The Solution: An SVG-First Workflow for Brand Consistency
The only sane way to manage this complexity is to adopt an SVG-first workflow. Your master logo and core brand graphics should exist as Scalable Vector Graphics (SVGs). Unlike raster formats like PNG or JPG, SVGs are code.
This gives them a superpower: infinite scalability. You can render an SVG at 40x40 pixels or 4000x4000 pixels, and it will be perfectly crisp every single time. This makes SVG the ideal "single source of truth." All other image assets are generated from this one master file. The catch? Social media platforms don't accept SVGs for profile pictures or banners. They demand raster formats. This is where the crucial conversion step comes in.
Social Media Image Size Cheat Sheet (2025)
Here are the most common, up-to-date dimensions you'll need. The key is to use your master SVG to generate a perfect PNG for each of these slots.
| Platform | Image Type | Recommended Dimensions (pixels) |
|---|---|---|
| Profile Picture | 180 x 180 | |
| Cover Photo | 851 x 315 | |
| X (Twitter) | Profile Picture | 400 x 400 |
| Header Photo | 1500 x 500 | |
| Profile Picture | 320 x 320 | |
| Feed Post (Square) | 1080 x 1080 | |
| Profile Picture | 400 x 400 | |
| Cover Image | 1584 x 396 | |
| Profile Picture | 165 x 165 | |
| Pin (2:3 Ratio) | 1000 x 1500 |
The "1-Click" Workflow: From a Single SVG to a Full Asset Kit
Looking at that table, you can see the challenge. Manually exporting each one is tedious. The goal is to automate this. Here's the step-by-step professional workflow.
Step 1: Finalize and Optimize Your Master SVG
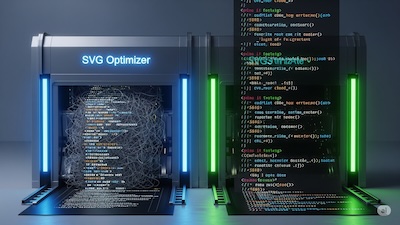
Before you start converting, ensure your source SVG is pristine. Open it in a design tool and make sure the artboard is tightly cropped around the artwork. Next, run your file through an SVG optimizer. This crucial step removes junk code and unnecessary data, making the file smaller and ensuring a cleaner conversion.
Step 2: The Power of Batch Conversion
This is where the magic happens. A simple one-off SVG to PNG tool is fine for a single file, but for a full social media kit, you need a powerhouse. A high-quality SVG Batch Converter is the engine of this workflow. Instead of converting one size at a time, a batch tool lets you define all your required sizes as presets. You can set up a "Facebook Profile" preset at 180x180, a "Twitter Header" at 1500x500, and so on. Once configured, you can drop your master SVG and generate the entire set with a single click. This is the "1-click" promise fulfilled.
Step 3: Ensure Pixel-Perfect Quality
When converting from vector to raster, quality is paramount. A poor conversion can result in fuzzy, unprofessional images. This is often due to poor anti-aliasing. As I detail in my guide on fixing blurry edges in PNGs, the key is to use a converter that employs a high-quality rendering engine to ensure the mathematical precision of your SVG is translated into a sharp, clear grid of pixels.
Step 4: The Final Squeeze with a PNG Compressor
You've generated a dozen beautiful, crisp PNGs. The final, non-negotiable step for any web-bound image is compression. Run all your newly created PNGs through a lossless or smart-lossy PNG compressor. This tool will reduce file size significantly—often by 50-70%—without any visible loss in quality, ensuring your social media profiles load quickly.
Beyond Logos: A Scalable Workflow for All Brand Assets
This workflow isn't just for logos. It's for any recurring brand graphic used on social media:
- Post Templates: Create a master SVG template for quotes, announcements, or product features.
- Banners & Headers: Design a single, detailed SVG banner and use the batch converter to crop and resize it for every platform's header dimensions.
- Icons & Watermarks: Generate a consistent set of icons or watermarks to use across all your visual content.
By using a single SVG source for all these, you guarantee brand consistency. This level of polish is what separates amateur social media presences from professional ones. For more on creating multiple sizes for different screen densities, you can explore the concepts in our guide to automating @2x/@3x exports.
Conclusion: Stop Resizing, Start Generating
The days of manually resizing images for every social media platform are over. It's an inefficient, error-prone workflow that has no place in a modern design process. By establishing SVG as your single source of truth and leveraging a powerful batch conversion process, you transform a tedious chore into a streamlined, automated system.
This isn't just about saving time; it's about elevating your brand's quality and consistency. It ensures every asset you publish is perfectly sized, crystal clear, and optimized for performance. Make the switch today and reclaim the hours you've been losing to the endless cycle of resizing.

iSVGtoPNG Team
iSVGtoPNG Team is a front-end developer and graphics enthusiast with over 10 years of experience in web technologies. She loves exploring the intersection of design and code.


