How to Clean SVG Code Before Converting to PNG for Sharper Images
 iSVGtoPNG Team

I've lost count of the number of times a developer has shown me a PNG that looks fuzzy, has weird artifacts, or is just plain broken, and asked, "What's wrong with my converter?" They'd show me the original SVG in a design tool, where it looked perfect. Yet, the output was a mess. In almost every case, the converter wasn't the problem. The real issue was the source file itself.
As a web performance specialist who has spent over 15 years wrangling digital assets, I've learned that one of the most critical—and most overlooked—steps in any asset pipeline is sanitizing your source files. We trust our design tools like Figma, Sketch, and Illustrator to export clean, efficient code, but the reality is they often don't. They prioritize editability and their own internal logic over production-ready optimization.
This guide pulls back the curtain on the "junk code" lurking inside your SVGs. We'll explore exactly what this messy code is, how it actively sabotages the quality of your PNG conversions, and I'll give you the definitive, professional workflow to clean it up. This isn't just about smaller file sizes; it's about creating a reliable foundation for generating razor-sharp, pixel-perfect PNGs every single time.
What Is "Dirty" SVG Code and Where Does It Come From?
To understand the solution, you must first understand the problem's origin. An SVG is not a picture; it's an XML document—a text file containing code that instructs a renderer how to draw an image. When a designer creates an icon, they are using a visual interface to generate this code. The design tool's primary job is to preserve the design's appearance *within that tool*, not to create optimal code for the web.
As a result, exported SVGs are often filled with:
- Editor-specific metadata: Comments and tags that only the original design tool understands.
- Redundant information: Unnecessary groups, overly precise numbers, and default attributes that could be removed.
- Unused definitions: Leftover gradients, filters, or symbols that aren't visible but still add weight and complexity.
You can see this bloat for yourself. Take any SVG from a design tool and open it in a text editor or an online SVG Viewer. You'll likely be surprised by the amount of code required for even a simple shape.
Example: A Bloated vs. Clean SVG
Here’s what a design tool might export for a simple 100x100 red square:
<?xml version="1.0" encoding="UTF-8"?>
<svg width="100px" height="100px" viewBox="0 0 100 100" version="1.1" xmlns="http://www.w3.org/2000/svg">
    <!-- Generator: MyDesignTool v1.0 - http://example.com -->
    <title>Red Square</title>
    <g id="Artboard" stroke="none" stroke-width="1" fill="none" fill-rule="evenodd">
        <g id="Group-1">
            <rect id="Rectangle" fill="#FF0000" x="0" y="0" width="100" height="100"></rect>
        </g>
    </g>
</svg>
And here is the same square after a proper cleaning process:
<svg xmlns="http://www.w3.org/2000/svg" viewBox="0 0 100 100">
  <rect width="100" height="100" fill="red"/>
</svg>
The second version is not only a fraction of the file size, but its simplicity makes it far easier and faster for any rendering engine—including an SVG to PNG converter—to parse correctly.
The 5 Silent Killers: How Junk Code Wrecks PNG Quality
This hidden code isn't just messy; it actively degrades your output. Here are the five most common culprits I've encountered that lead to poor PNG quality.
1. Unnecessary Groups and Transformations
Design tools love to wrap every element in <g> (group) tags. It's common to see a simple path nested five levels deep. Each group can have its own transform attribute, which the rendering engine has to calculate. This complexity can introduce rounding errors during rasterization, leading to anti-aliasing issues and the jagged edges that plague so many logos.
2. Overly Precise Coordinate Values
Computers are good at math, but sometimes they're too good. A design tool might export a path with coordinates like d="M10.1234567,20.7654321...". For a web graphic, this level of precision is almost always useless. It bloats the file size and, more importantly, can force the renderer to make decisions about sub-pixel alignment, which is a direct cause of the blurry edges and anti-aliasing nightmares we all want to avoid.
3. Hidden or Empty Elements
Designers often hide layers or leave empty containers in their files. These can be exported as elements with display="none", opacity="0", or as empty <g> tags. While browsers are good at ignoring these, some conversion libraries are not. They might still allocate memory for these "ghost" elements, or worse, render them as black artifacts, corrupting your final PNG.
4. Unused Definitions and Bloated <defs>
The <defs> section of an SVG is for defining elements like gradients, patterns, and filters that you want to reuse. Often, a file will contain dozens of old, unused definitions from previous design iterations. This adds significant weight to the file and can confuse converters that try to process every definition, whether it's used or not.
5. Non-Standard Code and Unflattened Effects
Some tools, particularly older versions of Illustrator, would inject proprietary XML data into the SVG. Furthermore, if you have live text or complex filters that aren't flattened into simple paths before export, you're relying on the converter's rendering engine to support those advanced features perfectly. If it doesn't, the effect or text will be rendered incorrectly or not at all.
The Professional's SVG Cleaning Workflow
You cannot trust an SVG straight out of a design tool for production use. To guarantee a sharp, reliable PNG, you must implement a sanitization workflow to clean the source file *before* conversion.
Step 1: Automate the Cleanup with an SVG Optimizer
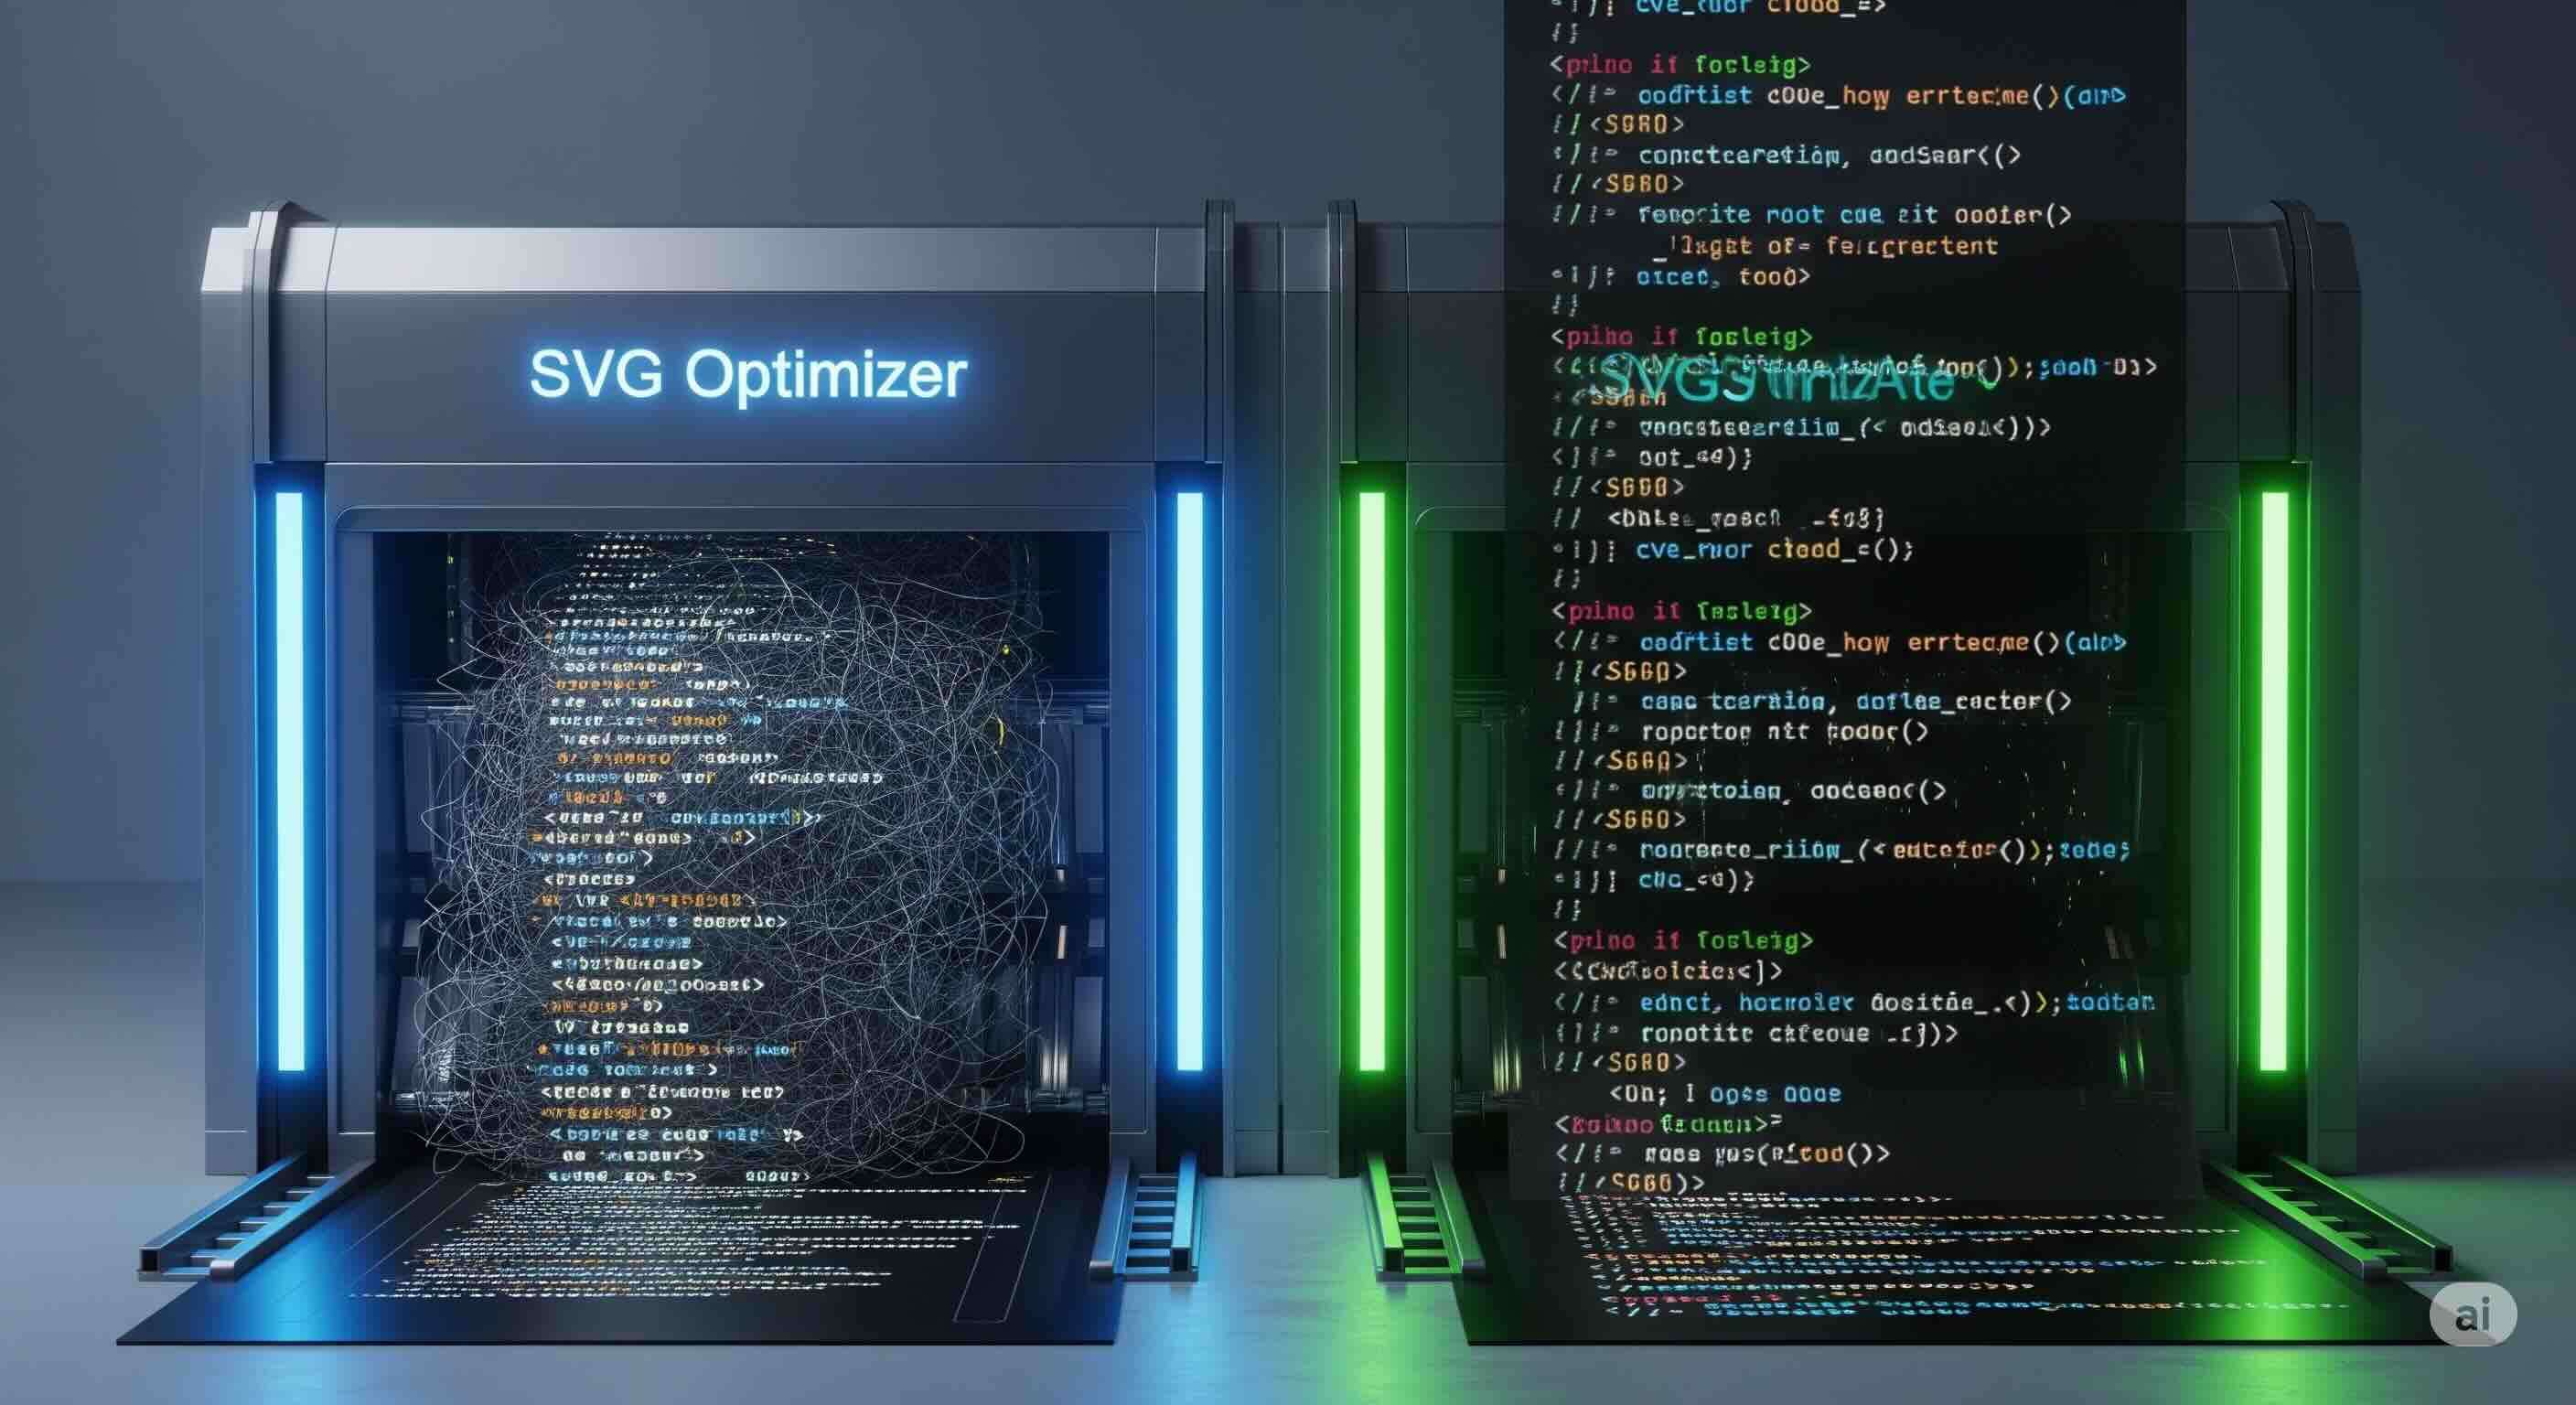
Manually editing SVG code is not a scalable solution. The professional approach is to use an automated tool. A dedicated SVG optimizer is the most important part of this workflow. It programmatically applies a suite of best-practice cleaning techniques.
A quality optimizer will:
- Remove comments, metadata, and XML declarations.
- Collapse redundant groups.
- Convert shapes to paths for better consistency.
- Round numeric values to a sensible precision.
- Remove hidden elements and unused definitions.
This single step solves over 90% of the rendering issues caused by dirty code. It should be a mandatory quality gate in any asset pipeline, especially an automated one, as we discuss in our guide to building a CI/CD pipeline for icon systems.
Step 2: Convert the Clean SVG to PNG
With a pristine, optimized SVG as your source, the conversion process becomes predictable. The rendering engine receives a clear, concise set of instructions. Now you can confidently use a high-quality SVG to PNG converter to generate your raster assets, specifying the exact resolution you need for @1x, @2x, and @3x screens.
Step 3: The Final Performance Polish
You now have a sharp, high-resolution PNG. The final step for any web professional is performance optimization. Run your newly created PNG through a lossless PNG compressor. This will intelligently reduce the file size—often by another 50-70%—without touching a single pixel of your precious image data.
For an entire icon set, this whole process can be streamlined. Export all your SVGs from your design tool (a process we detail in our Figma to PNG guide), run them through an optimizer, and then use a batch converter to generate and compress all the PNG variants in one go.
Conclusion: Clean Code is the Foundation of Sharp Images
The blurry, jagged, or broken PNGs that cause so much frustration are rarely the fault of the conversion tool. They are a symptom of a deeper problem: a dirty, unoptimized SVG source file. By treating your SVGs as code and implementing a strict sanitization process, you move from being a victim of your tools to the master of your asset pipeline.
The workflow is simple but powerful: Optimize your SVG first, then convert it to PNG, and finally, compress the result. This discipline is the difference between an amateur and a professional workflow, and it's the secret to guaranteeing that your beautifully designed vectors are always translated into the flawless, sharp PNGs they deserve to be.

iSVGtoPNG Team
iSVGtoPNG Team is a front-end developer and graphics enthusiast with over 10 years of experience in web technologies. She loves exploring the intersection of design and code.


