SVG to PNG at Scale: Building a CI/CD Pipeline for Icon Systems
I’ll never forget the "Icon Incident" on a major e-commerce project I was leading. Our icon library had ballooned to over 500 unique SVGs. A designer made a subtle but crucial tweak to the corner radius of our entire icon set. The task of regenerating all the PNG variants—@1x, @2x, @3x, plus themed colors—fell to a junior developer who spent the better part of two days manually exporting assets. He inevitably missed a few, named some incorrectly, and the result was a visual mess in production that took another day to untangle.
This experience, which I've seen play out in various forms over my career, is a classic symptom of a broken workflow. Manually converting SVG to PNG is fine for a one-off task, but for a living, breathing design system, it's an unsustainable bottleneck. It’s not just inefficient; it’s a direct drain on developer morale and a constant source of inconsistency and error.
The professional solution is to treat your icon system like any other critical piece of software: with automation. By building a Continuous Integration and Continuous Deployment (CI/CD) pipeline, you can transform your asset generation process from a manual chore into a fully automated, error-free, and instantaneous workflow. This guide will walk you through, step-by-step, how to build such a pipeline using the tools modern development teams use every day.
The Problem: Why Manual Icon Conversion Fails at Scale
Before we build the machine, let's be crystal clear about the problems we're solving. Relying on humans to perform repetitive, detail-oriented tasks like asset conversion is a recipe for failure as a project grows.
- Inconsistency is Guaranteed: Did everyone use the same export settings? Is the color profile correct? Manual processes introduce variables that lead to a fragmented visual language.
- It's a Monumental Time Sink: Developer time is one of the most expensive resources. Spending hours exporting PNGs is a low-value task that prevents them from building features.
- Error-Prone by Nature: From typos in filenames (
icon-caert.png) to exporting at the wrong resolution, human error is inevitable. A CI/CD pipeline executes the same perfect process every time. - It Kills Agility: In an agile environment, you want to be able to update an icon and see the change reflected immediately. A manual asset pipeline creates a delay and a disincentive to make small improvements.
Using an online SVG Batch Converter is a massive improvement over one-by-one exports, but it's still a manual step. For true professional-grade scalability, the process must be fully automated.
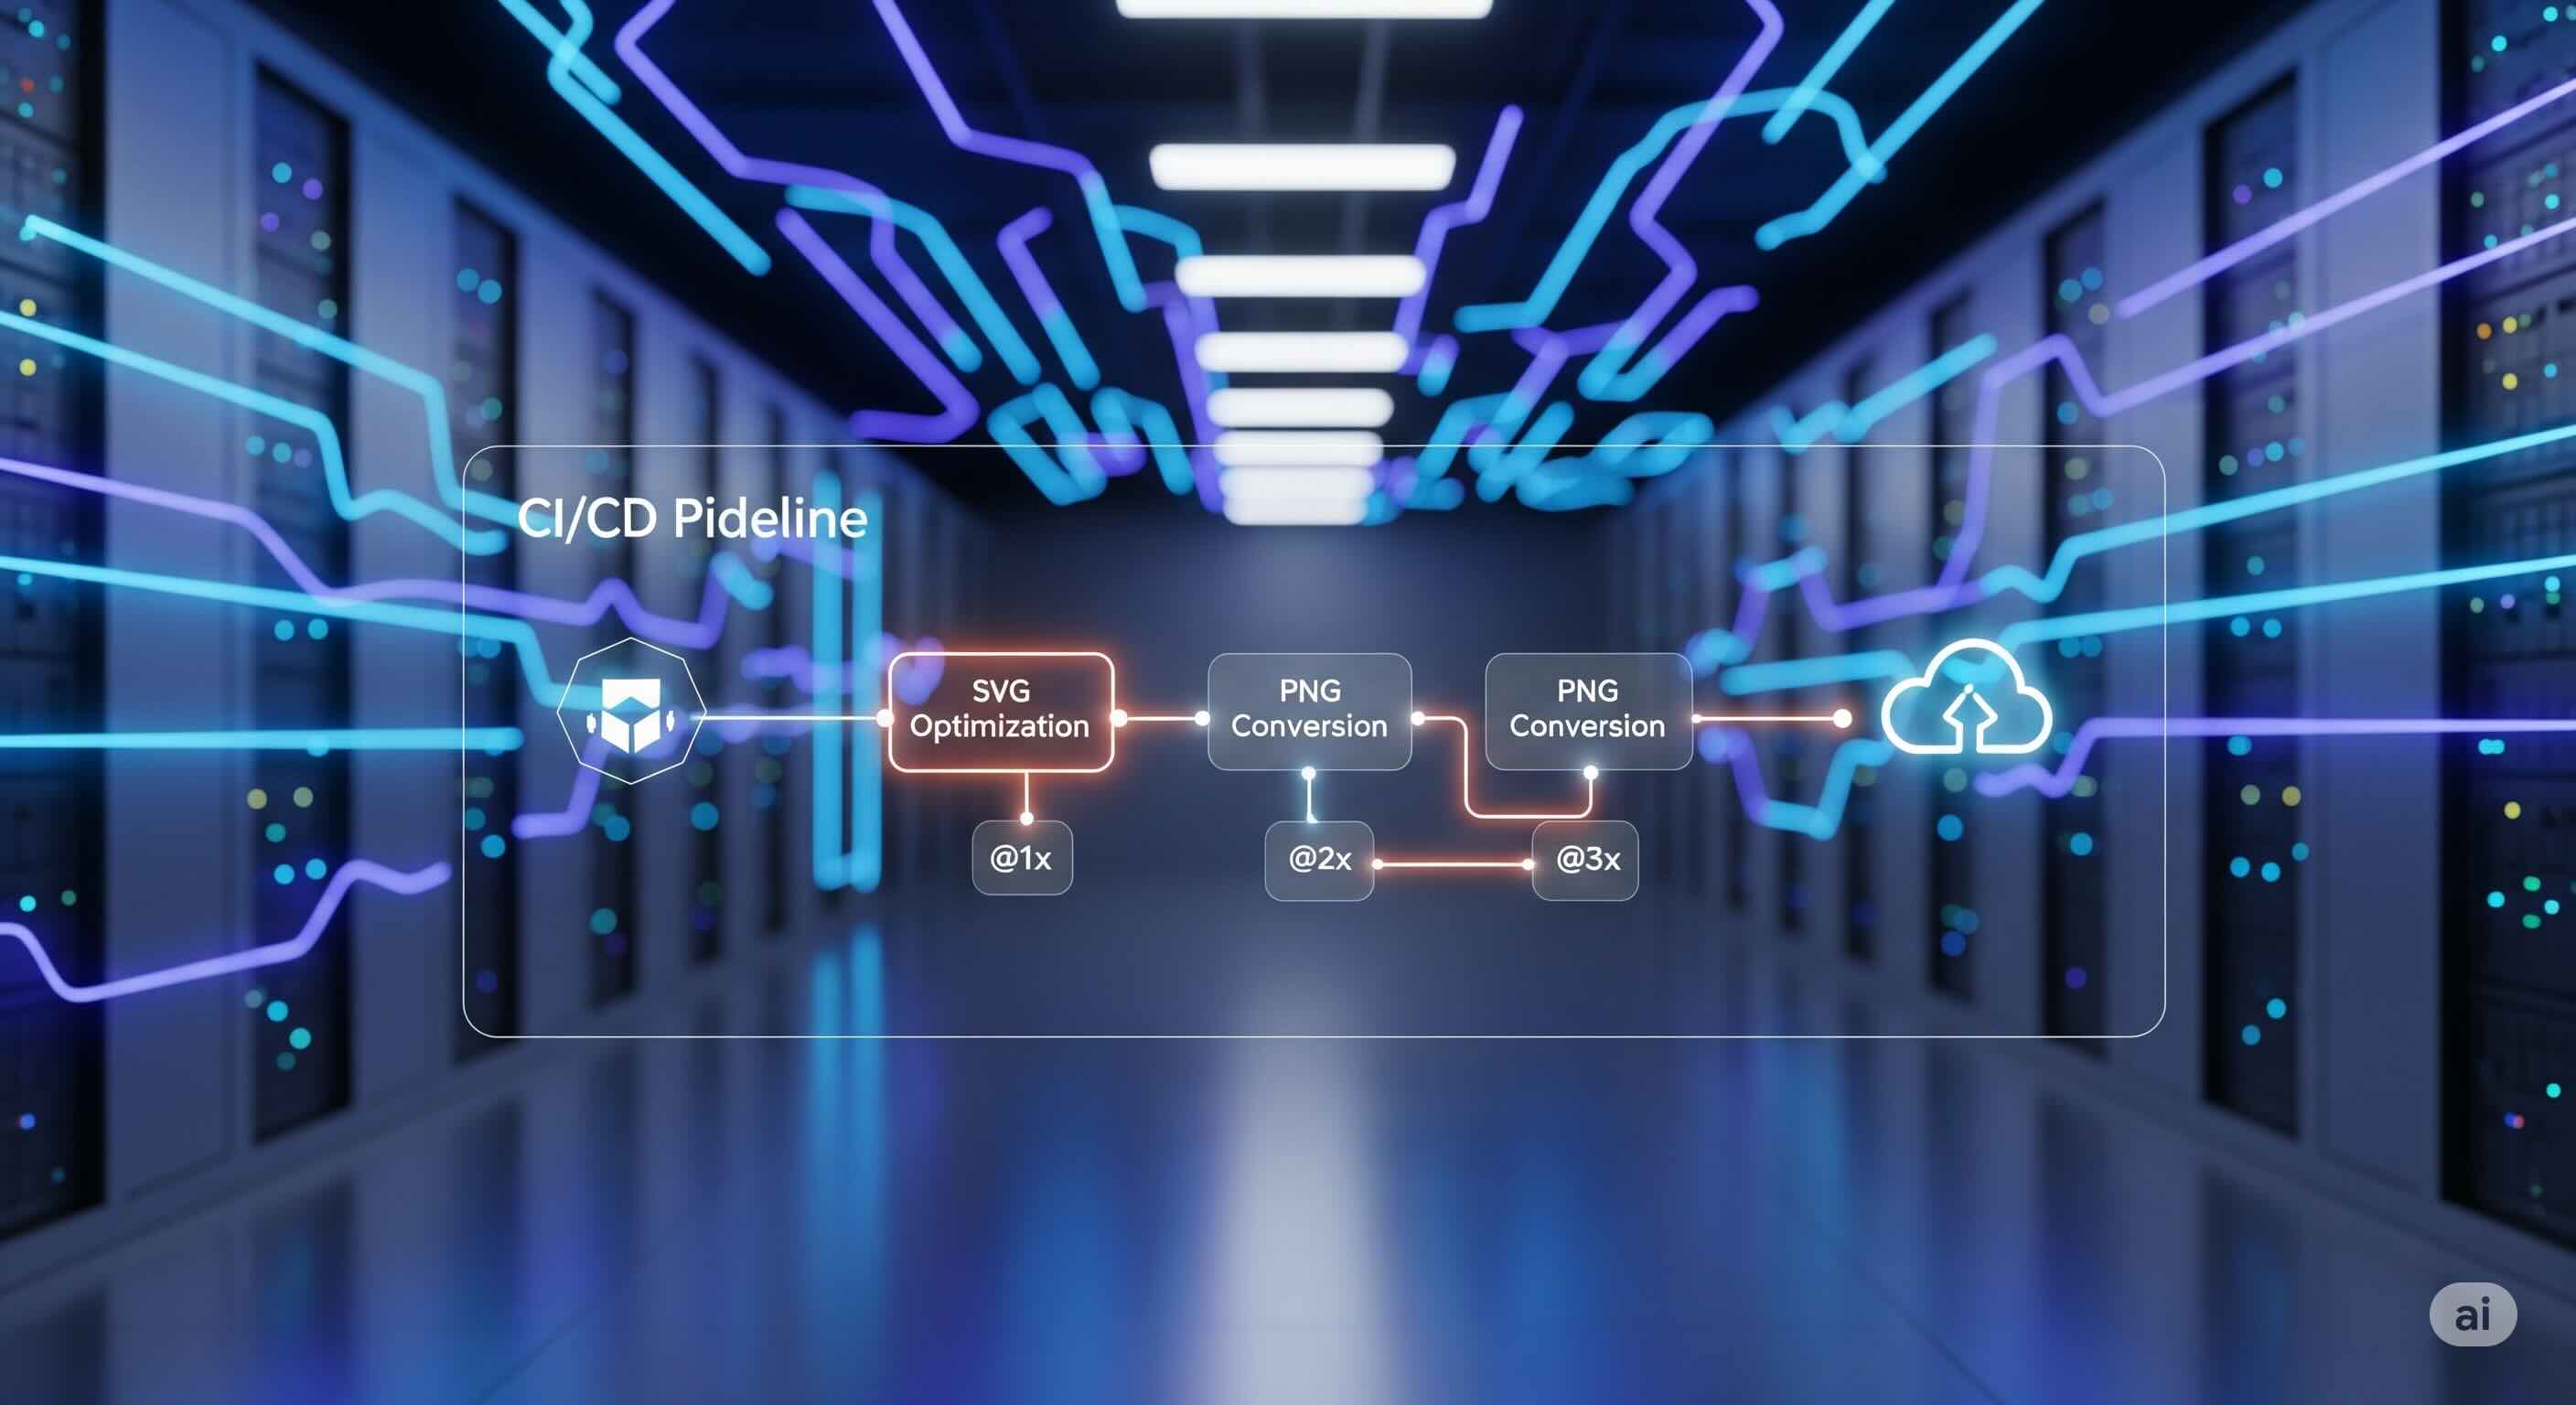
The Solution: Anatomy of an Automated Icon Pipeline
A well-architected CI/CD pipeline for icons is an elegant, logical flow. It takes a designer's raw material (an SVG) and transforms it into production-ready assets without any human intervention after the initial commit.
| Step | Action | Purpose |
|---|---|---|
| 1. Commit | Designer pushes a new or updated SVG to a Git repo. | The single source of truth is updated. |
| 2. Trigger | The `git push` command triggers the CI/CD workflow. | Automation begins. |
| 3. Validate & Optimize | The pipeline validates and cleans the SVG code using an SVG optimizer. | Ensures a high-quality, efficient source. |
| 4. Convert | A script performs the SVG to PNG conversion for all variants (@1x, @2x, etc.). | The core asset generation task. |
| 5. Compress | Each new PNG is run through a PNG Compressor. | Ensures smallest possible file size for performance. |
| 6. Deploy | Optimized assets are committed back to the repo or published to a CDN/NPM. | Makes new assets available to applications. |
| 7. Notify | A notification is sent to a team channel (e.g., Slack). | Confirms success and keeps the team informed. |
How to Build the Pipeline: A Step-by-Step GitHub Actions Guide
Let's get our hands dirty. We'll build a complete, working pipeline using GitHub Actions. The principles are easily transferable to other platforms like GitLab CI or CircleCI.
Prerequisites
- A GitHub repository for your project.
- Node.js and a package manager (npm or yarn) set up.
- A dedicated folder for your source SVGs (e.g.,
src/icons/). - A designated output folder (e.g.,
dist/icons/).
Step 1: The Heart of the Machine - The Conversion Script
The pipeline is just an orchestrator; a script does the real work. We'll use Node.js with the `sharp` and `svgo` libraries. This approach builds upon the core ideas of automating @2x/@3x PNG exports but fully integrates them into a server-side process.
First, install the dependencies: npm install sharp svgo glob-promise fs-extra
Now, create a script file, e.g., scripts/build-icons.js:
// scripts/build-icons.js
const sharp = require('sharp');
const { optimize } = require('svgo');
const glob = require('glob-promise');
const fs = require('fs-extra');
const path = require('path');

const SOURCE_DIR = path.join(__dirname, '..', 'src', 'icons');
const OUTPUT_DIR = path.join(__dirname, '..', 'dist', 'icons');
const SIZES = [
  { name: '', scale: 1, baseSize: 24 },   // for @1x
  { name: '@2x', scale: 2, baseSize: 24 }, // for @2x
  { name: '@3x', scale: 3, baseSize: 24 }, // for @3x
];

const svgoConfig = {
  plugins: [
    { name: 'preset-default' },
    { name: 'removeDimensions' },
    { name: 'removeViewBox', active: false },
  ],
};

async function buildIcons() {
  try {
    console.log('Cleaning output directory...');
    await fs.emptyDir(OUTPUT_DIR);

    console.log(`Scanning for SVGs in ${SOURCE_DIR}...`);
    const svgFiles = await glob('*.svg', { cwd: SOURCE_DIR });
    console.log(`Found ${svgFiles.length} SVG icons to process.`);

    for (const svgFile of svgFiles) {
      const baseName = path.basename(svgFile, '.svg');
      const inputPath = path.join(SOURCE_DIR, svgFile);

      const svgContent = await fs.readFile(inputPath, 'utf-8');
      const { data: optimizedSvg } = optimize(svgContent, svgoConfig);
      const optimizedBuffer = Buffer.from(optimizedSvg);

      for (const size of SIZES) {
        const outputName = `${baseName}${size.name}.png`;
        const outputPath = path.join(OUTPUT_DIR, outputName);
        const targetWidth = size.baseSize * size.scale;

        console.log(`  -> Generating ${outputName} (${targetWidth}px)`);

        await sharp(optimizedBuffer, { density: 96 * size.scale })
          .resize(targetWidth)
          .png({ quality: 90, compressionLevel: 9 }) // High quality compression
          .toFile(outputPath);
      }
    }
    console.log('✅ Icon generation complete!');
  } catch (error) {
    console.error('❌ An error occurred during icon generation:', error);
    process.exit(1);
  }
}

buildIcons();
Add a command to your package.json: "build:icons": "node scripts/build-icons.js".
Step 2: The Workflow Definition with GitHub Actions
Now, let's tell GitHub when and how to run our script. Create a workflow file at .github/workflows/build-icons.yml:
name: Build and Deploy Icons

on:
  push:
    branches:
      - main # Or your primary branch
    paths:
      - 'src/icons/**' # Only run when SVGs in this folder change

jobs:
  build:
    runs-on: ubuntu-latest

    steps:
      - name: Checkout repository
        uses: actions/checkout@v4

      - name: Set up Node.js
        uses: actions/setup-node@v4
        with:
          node-version: '20'
          cache: 'npm'

      - name: Install dependencies
        run: npm install

      - name: Build Icons
        run: npm run build:icons

      - name: Commit and push generated assets
        uses: stefanzweifel/git-auto-commit-action@v5
        with:
          commit_message: 'chore: Rebuild icons'
          file_pattern: 'dist/icons/**'
          commit_user_name: 'GitHub Actions Bot'
          commit_user_email: '[email protected]'
This workflow automatically checks out your code, installs dependencies, runs your build script, and commits the newly generated PNGs back to your repository whenever an SVG is changed.
Step 3: Ensuring Quality in an Automated World
Automation without quality control is just a faster way to make mistakes. A pipeline can't fix a poorly designed vector. You can still suffer from blurry edges or anti-aliasing nightmares if the source file has misaligned paths. Enforce a "pixel-snapping" design process for your source SVGs to ensure the sharpest possible output.
Advanced Strategy: Decoupling Icons by Publishing to NPM
Committing build artifacts to your main repository is a good start, but a more robust pattern for component libraries is to publish the assets as a versioned package to a registry like NPM. This decouples your icon assets from any single project, allowing them to be consumed by many. You can extend the GitHub Actions workflow with steps to automatically version (`npm version patch`) and publish (`npm publish`) your package.
Conclusion: From Maintenance Burden to Scalable Asset
Building a CI/CD pipeline for your icon system is a transformative step for any design and development team. It takes a process that is fraught with manual labor and inconsistency and turns it into a reliable, scalable, and fully automated system. The initial investment in setting up the script and workflow pays for itself almost immediately in saved developer hours and improved product quality.
By embracing automation, you elevate your icon system from a simple folder of images into a true, version-controlled software asset. You free your team to focus on what they do best: designing beautiful interfaces and writing brilliant code, confident that the machinery of asset production will work perfectly, every single time.
iSVGtoPNG Team
iSVGtoPNG Team is a front-end developer and graphics enthusiast with over 10 years of experience in web technologies. She loves exploring the intersection of design and code.